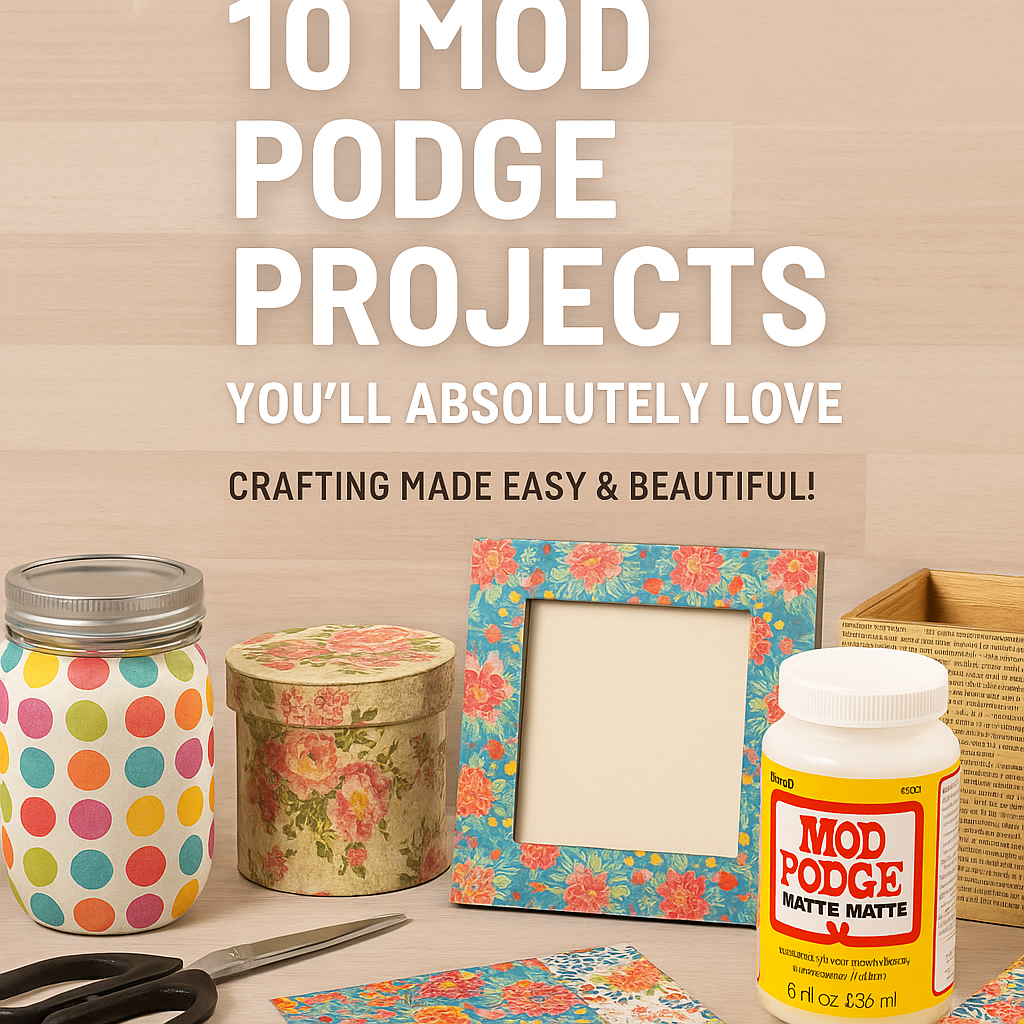
🖌️ 10 Mod Podge Projects You’ll Absolutely Love (Crafting Made Easy & Beautiful!)
10 Mod Podge Projects You’ll Absolutely Love
If you’ve got Mod Podge in your craft stash, then you already have everything you need to create something extraordinary! This versatile glue-sealer-tool combo works on practically every surface you can think of, making it the ultimate DIY go-to for craft lovers. Whether you’re a novice or a seasoned DIY enthusiast, Mod Podge projects are perfect for turning everyday items into beautiful, personalized treasures.
Today, I’m sharing 10 Mod Podge projects that will inspire your creativity. These crafts are fun, functional, and even beginner-friendly. You’ll also find tips to customize each project and turn them into giftables or small business products. Let’s get crafting!
🌟 1. Mod Podge Photo Coasters

Mod Podge Photo Coasters
Turn your favorite memories into stylish, usable coasters! Print your favorite photos, attach them to ceramic tiles with Mod Podge, and seal them with a waterproof coat. Suddenly, your coffee table tells a story.
Pro Tip: Black-and-white photos create a timeless, modern look!
Mod Podge Photo Coasters

Supplies:
- 4 ceramic tiles (4×4 inches)
- Laser-printed photos (trimmed to fit tiles)
- Mod Podge (Matte or Gloss)
- Foam brush
- Clear acrylic sealer spray
- Felt pads (for the bottom of tiles)
Instructions:
- Clean the ceramic tiles to remove any dust or residue.
- Apply a thin layer of Mod Podge to the tile surface.
- Place the trimmed photo onto the tile, smoothing out any air bubbles.
- Allow it to dry for 15–20 minutes.
- Apply a top coat of Mod Podge over the photo to seal it.
- Once dry, spray with clear acrylic sealer for added protection.
- Attach felt pads to the bottom corners to prevent scratching surfaces.
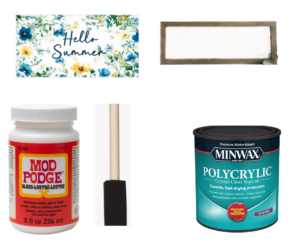
🎁 2. Decoupage Wooden Signs

Add custom charm to your home! Grab wooden plaques, your favorite scrapbook paper or napkins, and create farmhouse-inspired or holiday-themed wooden signs.
Pro Tip: Sand the edges lightly for a vintage, distressed look!
These make great decorations for your space or thoughtful gifts for friends.
Decoupage Wooden Signs
Supplies:
- Unfinished wooden plaque
- Scrapbook paper or decorative napkins
- Mod Podge
- Acrylic paint (optional)
- Foam brush
- Sandpaper
- Clear acrylic sealer (optional)
Instructions:
- Lightly sand the wooden plaque to smooth the surface.
- Paint the plaque with acrylic paint if desired; let it dry completely.
- Cut the scrapbook paper or napkin to fit the plaque.
- Apply a layer of Mod Podge to the plaque, then place the paper on top, smoothing out wrinkles.
- Allow it to dry for 15–20 minutes.
- Apply a top coat of Mod Podge over the paper to seal it.
- Once dry, optionally seal with clear acrylic sealer for durability.
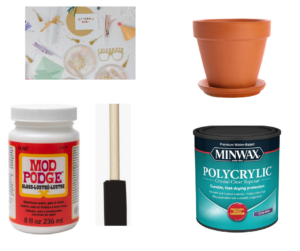
🌸 3. . DIY Mod Podge Flower Pots

Plain terra cotta pots? Not anymore. Decorate them with colorful fabrics or printed napkins that match your decor! Mod Podge Outdoor formula works perfectly for protecting your pots both indoors and out.
Pro Tip: Use chalkboard paint to add a customizable label for plant names!
DIY Mod Podge Flower Pots
Supplies:
- Terra cotta pots
- Decorative napkins or fabric
- Mod Podge (Outdoor formula recommended)
- Foam brush
- Scissors
- Acrylic paint (optional)
- Clear sealer (optional
- Instructions:
- Clean the pots thoroughly and let them dry.
- Paint the pots with acrylic paint if desired; allow to dry.
- Cut out designs from napkins or fabric.
- Apply Mod Podge to the pot surface, then place the cutouts on top, smoothing gently.
- Once dry, apply a top coat of Mod Podge to seal.
- For outdoor use, finish with a clear sealer for added protection.
🕯️ 4. . Glass Jar Luminaries

Upcycle empty jars into glowing luminaries with tissue paper and Mod Podge for a magical, cozy vibe. Place a LED tea light inside for safe mood lighting.
Pro Tip: Mix glitter into the tissue paper for a frost-like shimmer during the winter months.
Glass Jar Luminaries
Supplies:
- Clean glass jars
- Decorative napkins or tissue paper
- Mod Podge
- Foam brush
- LED tea lights
- Twine or ribbon (optional)Crafts by Amanda+16YouTube+16SELF+16
Instructions:
- Apply a thin layer of Mod Podge to the outside of the jar.
- Place the decorative napkin or tissue paper onto the jar, smoothing out wrinkles.
- Allow it to dry completely.
- Apply a top coat of Mod Podge to seal the design.
- Once dry, add twine or ribbon around the jar’s neck if desired.
- Insert an LED tea light inside the jar for a warm glow.
💌 5. Custom Mod Podge Clipboards

Spruce up an ordinary wooden clipboard by covering it with decorative paper. Perfect as a gift for teachers, artists, or your own creative workspace.
Pro Tip: Personalize it with vinyl letters or monograms for that extra special touch!
Custom Mod Podge Clipboards
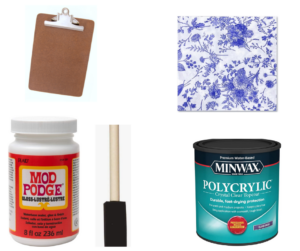
Supplies:
- Wooden clipboard
- Decorative paper or fabric
- Mod Podge
- Foam brush
- Scissors
- Acrylic paint (optional)
- Clear acrylic sealer (optional)
Instructions:
- Paint the clipboard with acrylic paint if desired; let it dry.
- Cut the decorative paper or fabric to fit the clipboard’s surface.
- Apply a layer of Mod Podge to the clipboard, then place the cutout on top, smoothing out bubbles.
- Allow it to dry for 15–20 minutes.
- Apply a top coat of Mod Podge to seal the design.
- Once dry, optionally seal with clear acrylic sealer for added durability.
📚 6. Upcycled Book Covers
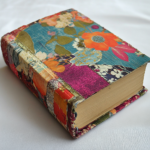
Take an old hardcover book and transform it into a chic decor piece! Use decorative paper or fabric to give it a second life. Stack a few on your shelves for instant styling.
Pro Tip: Coordinate similar patterns and colors for a cohesive vibe.
Upcycled Book Covers
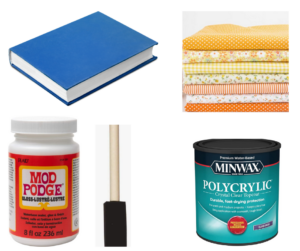
Supplies:
- Hardcover books
- Decorative paper or fabric
- Mod Podge
- Foam brush
- Scissors or craft knife
- Acrylic paint (optional)
Instructions:
- Paint the book cover with acrylic paint if desired; let it dry.
- Cut the decorative paper or fabric to fit the book cover.
- Apply a layer of Mod Podge to the cover, then place the cutout on top, smoothing out wrinkles.
- Allow it to dry for 15–20 minutes.
🎨 7. Canvas Art with Napkins

Napkins aren’t just for dinner parties! Use their pretty patterns to create unique artwork on blank canvases.
Pro Tip: Peel away layers until only the printed top remains for a smooth, clean finish.
Canvas Art with Paper Napkins
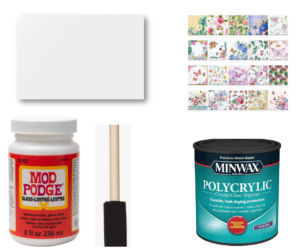
Supplies:
- Blank canvas (any size)
- Decorative paper napkins
- Mod Podge (Matte or Gloss)
- Foam brush
- Plastic wrap (optional)
- Acrylic paint (optional)
Instructions:
- If desired, paint the edges of the canvas with acrylic paint and let it dry.
- Separate the printed layer of the napkin from the white backing.
- Apply a thin layer of Mod Podge to the canvas surface.
- Carefully place the napkin onto the canvas, smoothing it out gently. Using plastic wrap can help prevent tearing.
- Allow it to dry completely.
- Apply a top coat of Mod Podge over the napkin to seal it.
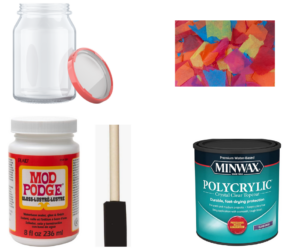
✨ 8. Mod Podge Glitter Jars

Because glitter makes everything better! Seal it in with Mod Podge for sparkling storage jars or party decor.
Pro Tip: Seal with dishwasher-safe Mod Podge if using in the kitchen.
Mod Podge Glitter Jars
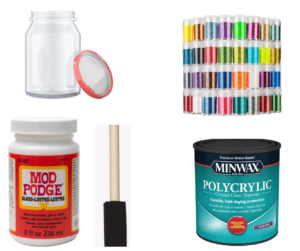
Supplies:
- Clean glass jars (e.g., mason jars)
- Mod Podge (Gloss)
- Fine or chunky glitter
- Foam brush
- Paper plate or newspaper (for catching excess glitter
- Instructions:
- Apply a thin, even layer of Mod Podge to the inside or outside of the jar, depending on your preference.
- While the Mod Podge is still wet, sprinkle glitter over the coated area, turning the jar to cover all sides.
- Tap off excess glitter onto a paper plate or newspaper.
- Allow the jar to dry completely.
- Apply a second layer of Mod Podge over the glitter to seal it, if desired.
🧺 9. Fabric Covered Storage Boxes

Turn boring storage bins into decor with fabric and Mod Podge. Great for organizing your craft supplies!
Pro Tip: Choose seasonal fabrics for a fresh look throughout the year!
Fabric-Covered Storage Boxes
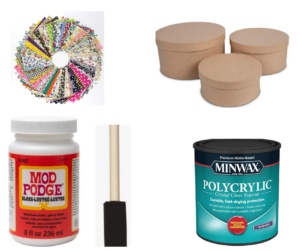
Supplies:
- Cardboard or wooden boxes
- Fabric of your choice
- Mod Podge (Fabric or Matte)
- Foam brush
- Scissors
- Ruler
- Clothespins or clips (optional)
- Instructions:
- Measure and cut fabric pieces to fit each side of the box, leaving a slight overhang.
- Apply a layer of Mod Podge to one side of the box.
- Place the fabric onto the glued area, smoothing out wrinkles.
- Repeat for all sides of the box.
- Fold the overhanging fabric over the edges and secure with Mod Podge. Use clothespins or clips to hold in place until dry.
- Apply a top coat of Mod Podge over the fabric to seal it.
🎄 10 Mod Podge Christmas Ornaments

Start your holiday crafting early with custom ornaments! Decoupage napkins, photos, or fabric onto clear or white ornaments for personalized decorations.
Pro Tip: These make heartfelt keepsakes or fantastic products for your holiday shop’s collection.
Mod Podge Christmas Ornaments
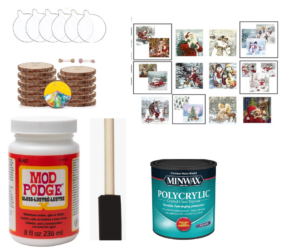
Supplies:
- Clear or white ornaments or wood (plastic or glass)
- Decorative paper napkins or fabric
- Mod Podge (Matte)
- Foam brush
- Scissors
- Ribbon or ornament hooks
Instructions:
- Cut the napkin or fabric into strips or shapes suitable for covering the ornament.
- Apply a thin layer of Mod Podge to a section of the ornament.
- Place a piece of napkin or fabric onto the glued area, smoothing it out gently.
- Continue applying Mod Podge and adding pieces until the ornament is fully covered.
- Allow it to dry completely.
- Apply a top coat of Mod Podge over the entire ornament to seal it.
- Attach a ribbon or hook for hanging.
🧡 Final Thoughts
Mod Podge isn’t just a craft tool; it’s a way to turn the ordinary into the extraordinary. From home decor to handmade gifts, these 10 projects are just the tip of the iceberg when it comes to creative possibilities.
Take it step by step, experiment with different materials, and, more importantly, have fun along the way! Share your creations on social media and tag me so I can see the magic you’ve made with Mod Podge.
Happy crafting, DIYers! ✂️
Got a favorite project you’d like to try? Comment below—I’d love to hear your ideas! 🎥 Want to see how I make some of