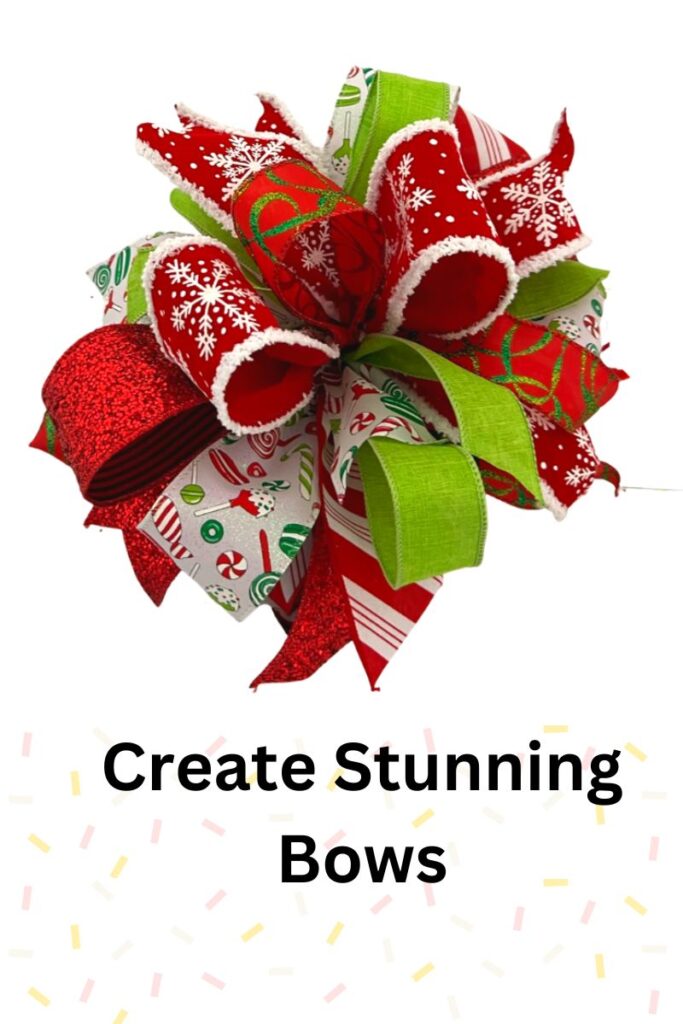
Create Stunning Bows for Crafts and Wreaths with ease
Making your bows for crafts and wreaths can add a personal touch to your home decor and DIY projects. Whether you’re a seasoned crafter or just starting, creating beautiful bows is a skill worth mastering. In this blog post, we’ll guide you through a step-by-step process for crafting stunning bows using a simple yet effective recipe. We’ll cover everything you need to know, from selecting the right materials to perfecting your technique. By the end, you’ll be able to create professional-looking bows that elevate any project.
Why Make Your Own Bows?
Welcome to the world of DIY! If you’re passionate about crafting, you know the joy of creating something unique with your own hands. Making your bows allows you to customize your projects to your preferences. Unlike store-bought bows, homemade bows can be tailored to match your style, color scheme, and the specific needs of your project.
Cost-Effective and Customizable
One of the biggest advantages of making your bows is the cost savings. Craft supplies can add up, but by creating your bows, you can use leftover materials and save money. Plus, you have complete control over the design, size, and color, making it easy to match your bows to any project.
Adds a Personal Touch
A handmade bow adds a touch of personality and uniqueness to any project. It’s a simple way to show that you’ve put thought and effort into your craft. Whether you’re making a gift, decorating your home, or adding a finishing touch to a wreath, a handmade bow can make all the difference.
Fun and Therapeutic
Crafting can be a relaxing and enjoyable activity. Making bows is no exception. The repetitive motions can be quite soothing, and the satisfaction of creating something beautiful with your own hands is incredibly rewarding.
Materials Needed
Before we jump into the bow-making process, let’s gather the necessary materials. Having everything ready will make the process smoother and more enjoyable.
Ribbon Selection
The type of ribbon you choose plays a crucial role in the final look of your bow. For this recipe, we’ll use two types of ribbon:
- 1.5-inch wide wired ribbon
- 2.5-inch wide wired ribbon
- 7/8-inch ribbon
Selecting high-quality ribbons in colors and patterns that match your project will ensure a polished and professional look.
Tools Required
To make the bow-making process easier, you’ll need a few essential tools:
- Bowmakera or a set of dowels to hold the ribbon in place
- Scissors
- Measuring tape
- Floral wire or strong thread to secure the bow
Optional Decorations
For an extra touch of flair, consider adding embellishments like:
- Faux flowers
- Wider ribbon
These decorations can be attached to your bow to enhance its appearance and make it even more unique.
Step-by-Step Guide to Making Your Bow
Step 1: Prepare Your Ribbon
Pick a selection of 2.5-inch, 1.5-inch, and 7/8-inch wired ribbons in coordinating colors.
Step 2: Create the Base Loops
Next, follow these steps to create the base loops:
- 3 loops at 7 inches with 18-inch tails
- 2 loops at 7 inches with 18-inch tails
- 1 loop at 7 inches with 18-inch tails
Place each loop in the bow maker, ensuring they overlap slightly for a fuller appearance.
Step 3: Add Smaller Loops with 1.5-inch ribbon
For added dimension, create smaller loops as follows:
- 2 loops at 6.5 inches with 18-inch tails
- 2 loops at 6.5 inches with 18-inch tails
- 1 loop at 6.5 inches with 18-inch tails
Again, place these loops in the bow maker, ensuring they are evenly spaced.
Step 4: Switch to the 7/8-inch Ribbon
Now it’s time to switch to the narrower 7/8-inch ribbon. Follow these steps:
- 1 loop at 6 inches with 18-inch tails
- 1 loop at 6 inches with 18-inch tails
- 1 loop at 6 inches with 18-inch tails
These smaller loops will add depth and detail to your bow.
Step 5: Secure Your Bow
Once all the loops are in place, carefully remove the bow from the bow maker using floral wire or zip ties. Pull the zip tie or wire tightly to secure the bow’s center. Make sure all the loops are firmly held together and in the same place as they were in the bow maker.
Step 6: Fluff and Arrange
After securing the bow, fluff out the loops to create a full and voluminous appearance. Adjust the tails and loops until you achieve the desired look. This step is crucial for giving your bow a professional finish.
Tips for Perfect Bows
Choose the Right Ribbon
The type of ribbon you use can make or break your bow. Opt for a high-quality ribbon that holds its shape well. A wired ribbon is easier to manipulate and holds it shape longer,
Practice Makes Perfect
Don’t be discouraged if your first few bows don’t turn out perfectly. Like any skill, bow-making takes practice. The more you make, the better you’ll get. Keep experimenting with different ribbon types, sizes, and techniques until you find what works best for you.
Use a Bow Maker
A bow maker can be a game-changer for creating consistent and professional-looking bows. If you don’t have one, you can use a set of dowels or even your fingers to hold the ribbon in place as you work.
Creative Uses for Your Bows
Gift Wrapping
A handmade bow can transform a simple gift into something special. Use your bows to add a personal touch to birthday presents, holiday gifts, or any other occasion.
Home Decor
Incorporate your handmade bows into your home decor. They make lovely additions to wreaths, garlands, and even everyday items like throw pillows and picture frames.
Special Events
From weddings to baby showers, handmade bows can add a touch of elegance and charm to any event. Use them to decorate centerpieces, chairs, and party favors.
Conclusion
Creating your bows for crafts and wreaths is a fun and rewarding activity that allows you to personalize your projects. With the right materials, tools, and techniques, you can make beautiful bows that add a special touch to any occasion. Remember, practice makes perfect, and don’t be afraid to experiment with different styles and designs.
Ready to take your crafting to the next level? Try making your bows today and see how they can enhance your DIY projects. Happy crafting!
