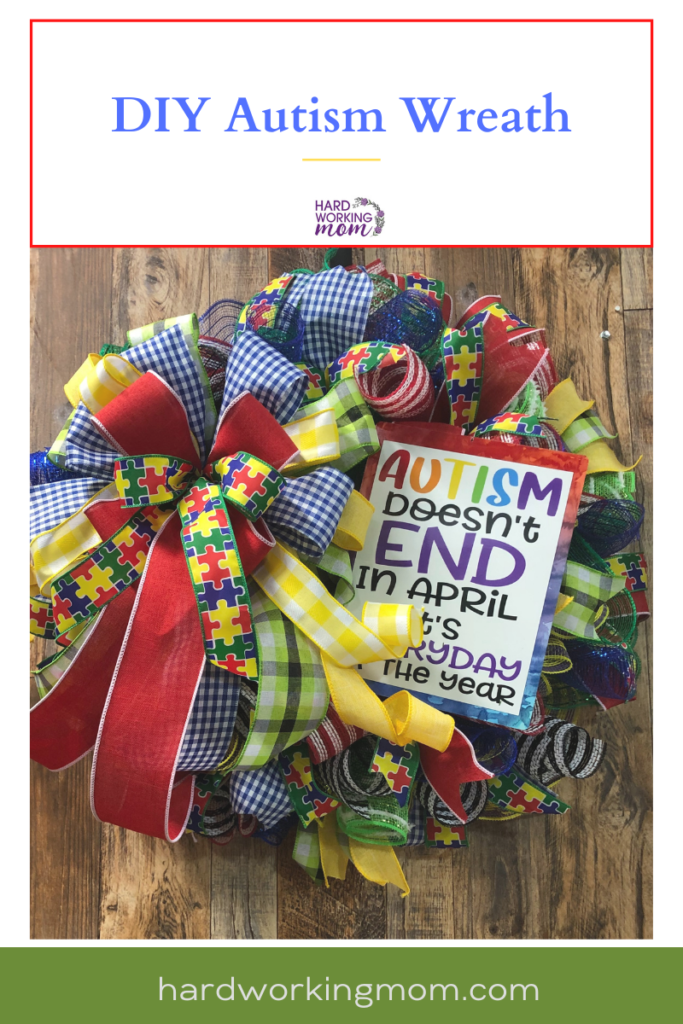
DIY Autism Wreath
Do you know someone with Autism? This wreath is a great way to show your love and support. Check out these easy steps to create a beautiful and bright DIY Autism Wreath!
METHOD
•Method 20in Ruffles
Ribbons cut -12
Mesh cut – 20in
SUPPLIES
Most supplies can be found at Trendy Tree or Hardworkingmomstore.com
Get Supplies Trendy Tree- https://bit.ly/350JHZO
13in Blue work wreath frame
10in Red with white edge deco mesh
10in Black with white edge Deco mesh
10in Green tinsel deco mesh
10In Blue deco mesh
2.5″ Red Canvas Ribbon-
2.5″ Green white and black
2.5″ Purple white and black
STEPS:
For this project I’m using leftover supplies!
Find scraps that contain the primary colors from previous projects and put them to use. I found some red, green, blue, and yellow mesh that I cut into 20-inch sections. I created ruffles by grabbing a piece of mesh, placing it face down on a flat surface, and running my thumbs straight up to ruffle the mesh to create a bow tie form. Be sure to alternate mesh colors when securing your ruffles to the wreath frame.
Add a touch of fun and flair by using the curl method which is taking a section of mesh and rolling it in the natural direction of the curl.
Ribbon- I used a blue plaid ribbon with an Autism puzzle print ribbon for one combo to place in a tie on the form. For the other combination, Red canvas ribbon and the Autism ribbon. Alternate these around your wreath also!
Creating the perfect bow for my wreath is a breeze when I am using my handy EZ BowMaker! My leftover ribbon is 5 different patterns with the primary colors.
To attach my sign, I used a hole punch to make holes in the top and bottom of the sign, ran the floral wire through the holes and to the back of the frame to secure it!
Visit the Hard Working Mom Youtube channel to see the full video tutorial for this Autism Wreath!
Don’t forget to tag Hard Working Mom in your wreaths on Facebook & Instagram using @hardworkingmom & @hardworkinglori