

Lantern Bows: How to Make Them and Determine Their Size
Lantern Bows: How to Make Them and Determine Their Size
Making a beautiful bow for a lantern, birdcage, or other decorative piece is about more than choosing pretty ribbon. One of the most important parts is determining the correct bow size so your bow complements the piece instead of overwhelming it.
In this lesson from the Summer Bow Master Class, I’m showing you an easy way to measure your bow directly against your lantern, how to make multiple ribbons at the same time, and how to fluff everything into a full, rounded bow.
The best part? This same bow-making method can also be used for wreaths, mailbox bows, pew bows, and so much more.
Supplies
For this project, you will need:
- Lantern, birdcage, or decorative piece
- 2–3 coordinating wired ribbons
- Bow maker
- Scissors
- Zip tie
- Pipe cleaner or floral wire
- Optional greenery or floral picks
- Optional fluff box
- Hot glue or glue pot if adding embellishments
Step 1: Use Your Lantern to Determine the Bow Size
Before cutting ribbon, look at the actual lantern or decorative piece you are using.
You do not want the bow to completely take over the lantern. The bow should enhance the design while still allowing the lantern itself to remain visible.
Also pay attention to doors, handles, hinges, and latches. If your lantern has a door, make sure your ribbon tails and greenery will not block it.
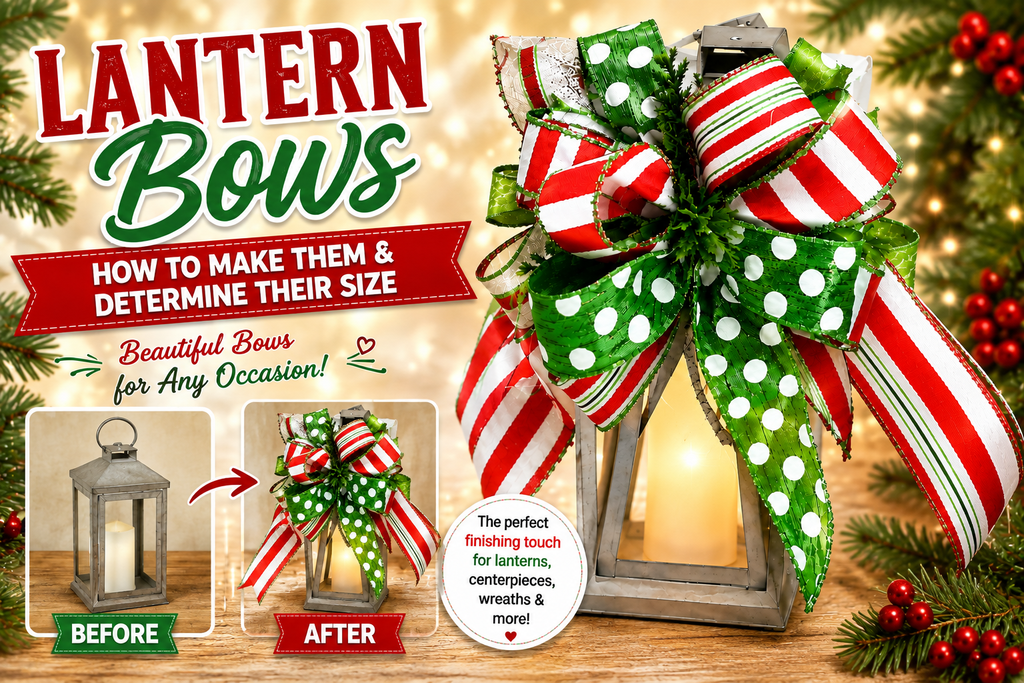
For one lantern in the lesson, approximately 10-inch tails and 4-inch loops worked beautifully. A 5-inch loop extended a little too far, while the 4-inch loop stayed nicely within the width of the lantern.
That gives you an easy rule:
Measure your bow against the piece instead of relying on one standard bow size.
Step 2: Choose Your Ribbon Combination
One of my favorite tricks is to make the bow using several ribbons at the same time.
Instead of creating one ribbon loop, then adding a second ribbon, and then adding a third, place your coordinating ribbons together and treat them as though they are one ribbon.
Hold the ribbons neatly together, make your loop, twist all of them together, and continue building the bow.
You can use two ribbons, three ribbons, or even combine different ribbon widths. The important thing is simply keeping the ribbons together as you work.
This technique creates a beautifully layered bow very quickly.
Step 3: Make the Lantern Bow
Begin with approximately a 10-inch tail if that measurement works for your lantern.
Place your ribbons together and create your first loop at approximately 4 inches.
Twist the ribbons together at the center and create another loop on the opposite side.
Continue making loops from side to side.
There is no absolute rule for the number of loops. You can make the bow as full or simple as you want. Because several ribbons are being used together, each individual loop actually becomes multiple ribbon loops once the bow is fluffed.
That means you can achieve a very full bow without making an excessive number of loops.
Step 4: Secure the Bow With a Zip Tie
Once your loops are complete, slide a zip tie underneath the entire bow.
Make sure the zip tie is underneath every layer before you begin tightening.
Start the zip tie and allow it to help pull the bow away from the bow maker. Avoid trying to force the bow out with your hands because doing so can cause loops or tails to move.
Before completely tightening the zip tie, locate the indentation marking the true center of your bow.
Move the zip tie until it sits directly over that center point.
This is extremely important. If the zip tie is off-center, one side of your bow may have larger loops than the other.
Add a pipe cleaner or wire before completely tightening the zip tie so you will have an easy way to attach the bow to your lantern.
Step 5: Fluff Your Lantern Bow
Leave the end of your zip tie attached temporarily because it gives you something to hold while fluffing.
Start at the bottom of one side and work upward.
Separate the ribbons within each loop. Pull one ribbon toward one direction and another ribbon toward the opposite direction.
Use a simple pull-and-twist motion to spread the ribbons apart.
Finish one side before moving to the other.
If two identical ribbons end up directly beside each other, simply move one to another position. Because the bow is secured tightly, you can pull and reposition the loops quite firmly without worrying about them coming loose.
Making a Smaller Bow for a Birdcage
The same method works beautifully for smaller decorative pieces.
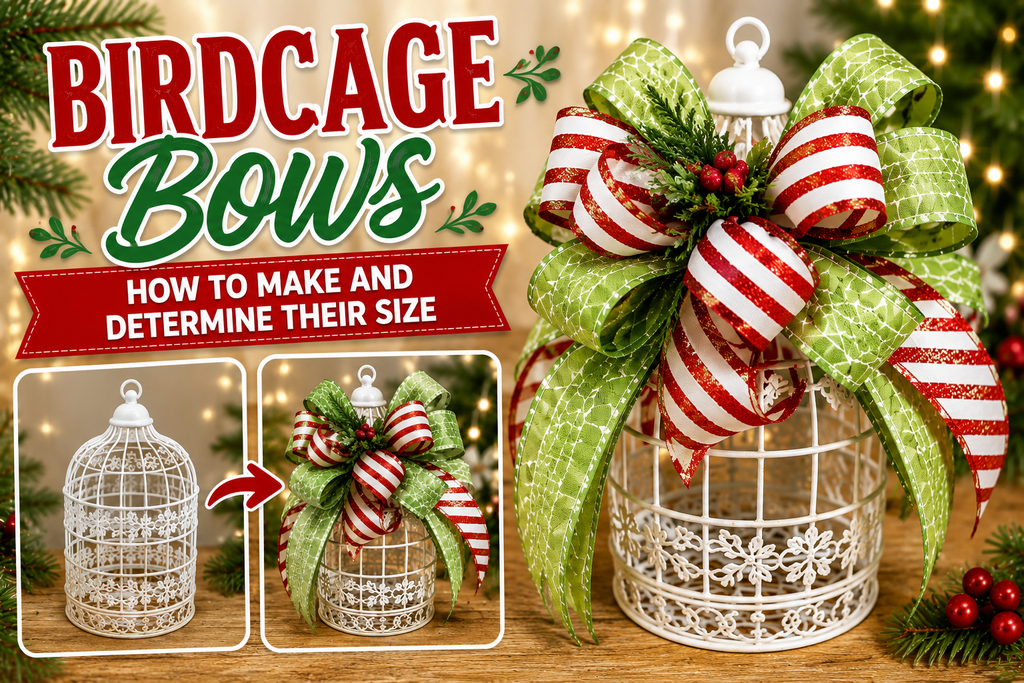
For a smaller birdcage demonstrated in the lesson, approximately 6-inch tails and 3-inch loops were more appropriate.
A 4-inch loop would have extended too far beyond the birdcage and overwhelmed it.
Again, the decorative piece itself tells you what size bow you need.
Add Greenery Directly Into the Bow
You do not always need to create a huge lantern swag.
For a simpler design, place small greenery or floral pieces directly between the ribbon loops and glue them into place.
This gives the lantern a finished, decorated appearance without covering the entire piece.
Sometimes a beautiful bow with just a few greenery accents is all you need.
The Secret to a Beautiful Lantern Bow
The biggest lesson is to let the lantern determine your measurements.
Keep your loops inside the width of the lantern, make sure your tails do not interfere with doors or latches, and use multiple ribbons together to create fullness quickly.
Once you learn this method, you can adapt it for practically any decorative bow project.