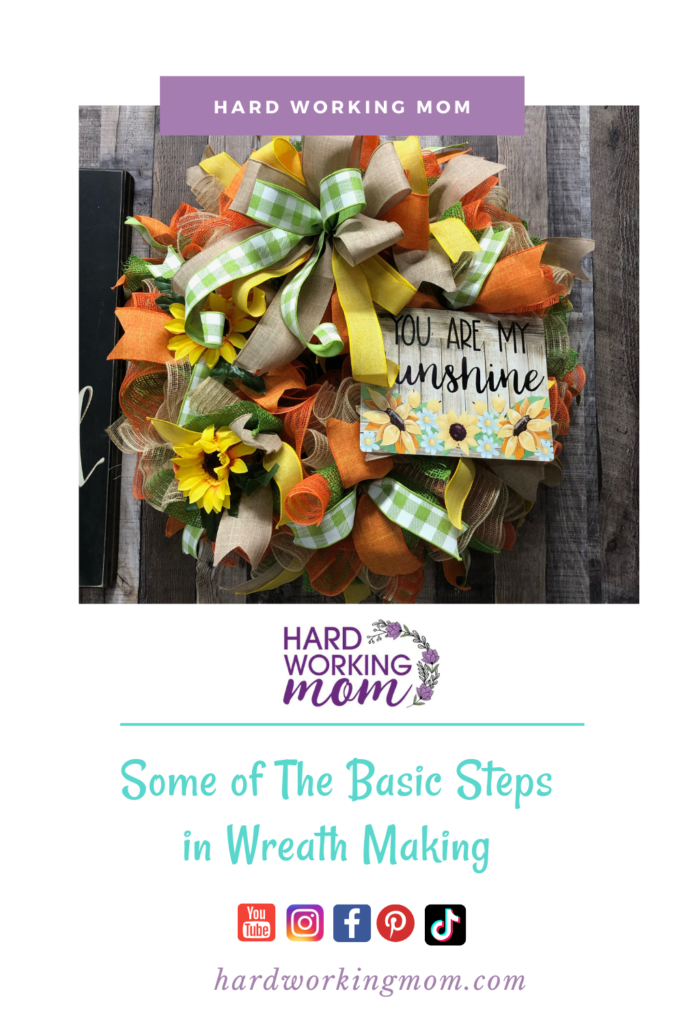
SOME OF THE BASIC STEPS IN WREATH MAKING | Hard Working Mom
Think of ways to decorate your home throughout the year or perhaps on special occasions? Worry no more. Here are some of the basic steps in wreath making. Make use of wreaths to fancy up your humble abode with this elegant work of art. Now, there is no correct way to make a wreath; it’s just an amalgamation of the right balance, form, color, texture, and decoration. A beautiful wreath is made once all these elements are seamlessly combined, complimenting one another.
Use this piece for basic guidelines about steps that the wreath making process entails.
Getting Started
The first step is planning the kind of wreath you want to make to get a rough idea of all the supplies and tools you will be utilizing for it. Next, comes assembling. Once you’ve bought all the necessary materials you need, gather them in one place before you commence.
Attaching a Hanger
On the base you have to attach a wire hanging loop by passing the wire through the center of the wreath and tying each end together in a loop carefully. It is advisable that you twist them one more time in order to toughen the knot. This will be positioned right at the top of your design.
Preparing the Base
You can use a variety of materials to cover the base of your wreath such as grass or moss by gluing them into place. You can use either hot glue or one that dries quickly in case you’re using a foam base. It isn’t the best idea to start working on the whole base; work with smaller pieces first and then gradually cover the wreath. Paste glue on the side that’s going to be stuck to the base and press it tightly. You can employ coiling fabric to cover the wire base. Fasten the knots at the back of the base as well. If you’re aiming for a visually appealing look, make sure you’ve fully covered the base to the point where it cannot be seen.
Planning the Design
This is an important aspect as you need to have a clear layout in your mind before you start executing anything. Contemplate the potential wreath designs you want to work on and ensure that you get hold of decorative materials that are in alignment with the picture in your head. One of the crucial elements is, of course, the color. Be imaginative and visualize different color combinations that would enhance the beauty of the wreath. Location is another aspect to consider in the process because each place has its own vibe and will require a specific design that will be most appropriate for it.
The proportion, symmetry and other technical factors must also be taken into account. Ensure that the size of the wreath is suitable for the place it will be displayed.
You should also channelize your energy towards making a focal point that serves as a highlight in your overall wreath. At the end of the day, the different components that will come together to materialize the design you’ve envisioned must reflect one thing: unity.
Attaching Decorations
Here comes the final step that’s probably the most exciting of them all. So, you basically start from the base and gradually work around the wreath. First of all, you have to ensure that the stems you’re working with are long enough to lie flat against the base and be secured by the twine. After that start wrapping one decorative material over the other in a way that different textures blend together beautiful. These decorative items may include faux flowers, fruits, eucalyptus branches, etc. You can even wire together some materials in cute little bunches to enhance the appearance of the wreath.
Don’t fret over adding too much greenery or flowers because if the wreath already looks dense, it isn’t necessary to stuff it with too many extra embellishments.
Signing OfF
Eventually, you’ll realize that the best kind of wreaths you make are the spontaneous ones, when you’re simply enjoying the process of wreath-making. Once you get into the swing of it, you won’t even need a guide or manual of any sort to help you make a gorgeous wreath.
Want to learn more about designing & selling wreaths join my combo group!

