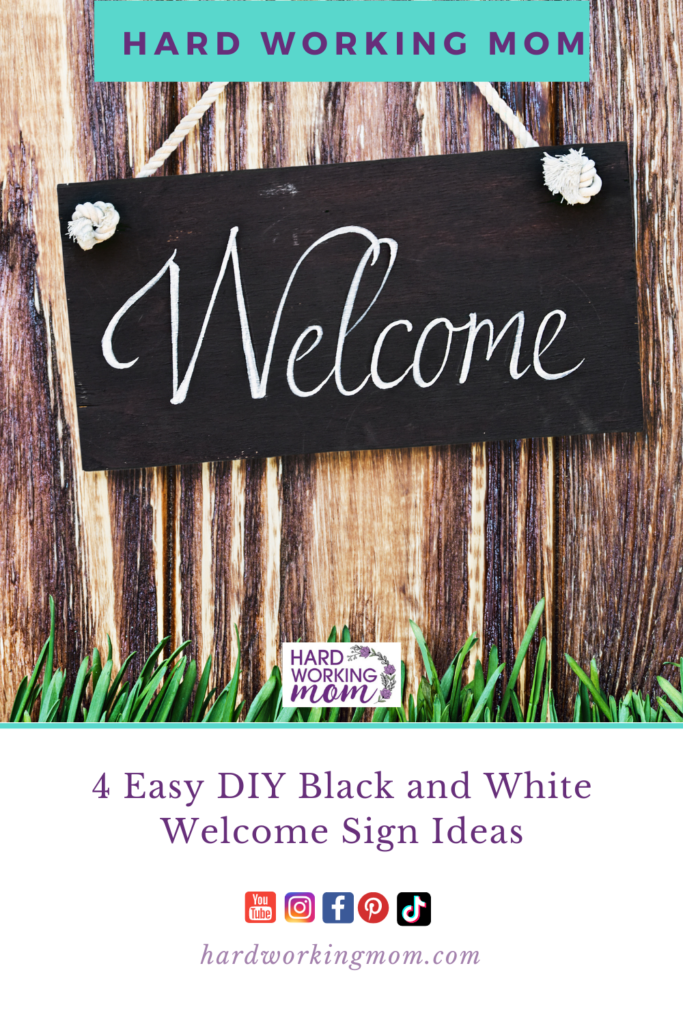
4 Easy DIY Black and White Welcome Sign Ideas
These black and white welcome sign ideas are sure to spark your creativity and help you create a piece of decor you’re proud of. The craft projects listed below are meant to give you inspiration and may not come with an actual tutorial. To help, I will provide as much detail about the supplies you’ll need and a brief walkthrough of how to make one of your own. Be sure to bookmark (and pin) this page so you can easily access it when you’re ready to create your own black and white welcome sign.

4 Easy DIY Black and White Welcome Sign Ideas
Wood Pallet with Mason Jar Welcome Sign
The supplies you’ll need to create this are an unfinished wood hanging plaque like this one, stencils, a mason jar, twine or jute cord, flowers, hose clamps, and black and white acrylic paint. Start by painting the hanging plaque white. Once it dries, you can add a distressed look by using sandpaper and lightly brushing it across the wood plaque, paying more attention to ends and corners.
Next, use stencils to spell and trace the word welcome across the top with black acrylic paint (or spray paint). While that dries, paint a mason jar black, white, or a combination of the two. Spray a coat of clear sealer over the entire plaque and jar to make them waterproof. Once they dry, wrap jute cord around the top (where the top would be applied). Attach it to the board using the hose clamp (this is easily done by attaching the clamp to the wood with a screw, then you can put the jar in it and tighten the clamp).
Last but not least, add colored flowers of your choice, and your wood pallet mason jar welcome sign is ready for your front door!
Black and White Farmhouse Welcome Home Sign
This design is super adorable and can easily be recreated with your own creative touch. All you need are an unfinished wood plaque, black and white acrylic paint, stencils, and green garland like this eucalyptus.
Start by applying a coat of white paint to the plaque. Once it has dried you can add the distressed look like described in the previous craft idea. You’ll only need stencils for the letters h, m, and e since the “o” will be created with the garland. Paint the letters using black paint or black spray paint.
Once dried, apply the garland in a circular shape to create the “o” and attach it with heavy-duty staples or a nice helping of hot glue. Now you’ll have your own unique farmhouse-style welcome home sign.
Upscale Frame Welcome Sign
For this unique welcome sign, all you’ll need is a frame, an unfinished welcome word, black and spray paint, jute cord, and burlap ribbon. Start by removing the back from the frame leaving the frame only. Spray paint it black or white. Paint the welcome word the opposite of what you decided to paint the frame. Attach it to the bottom left of the frame (you can choose horizontal or vertical) with hot glue. Make a medium-sized bow with the burlap ribbon and attach it to the top right of the frame. Use the jute cord to create and hanger and you’re done!
Black and White Buffalo Check Welcome Sign
This craft project is about as easy as they come. Grab some black and white buffalo check fabric (enough to cover a square or rectangle wood plaque) and an unfinished wood welcome word. Cover the plaque with the fabric using mod podge and a smoothing tool. While it dries, paint the welcome word black or white then attach it to the plaque with hot glue. If the plaque doesn’t come with a hanger, you can easily make one from jute cord.
Final Thoughts
These designs are sure to give you some inspiration for making your own black and white welcome sign. With just a few supplies and the suggestions above, I know you’ll create something awesome! Have you created one before? Let me know in the comments below. In the meantime, I’d love to know which of these you are most excited about trying. And as always, I’d love to see your finished product! Happy welcome sign crafting!

