How to Make a Dollar Tree St. Patrick’s Day Wreath on a Budget
Add a little luck to your home decor this St. Patrick’s Day with a DIY wreath that’s bursting with charm! For this tutorial, we’ll show you how to create a festive and budget-friendly St. Patrick’s Day wreath using supplies from Dollar Tree. Whether you’re a seasoned crafter or trying DIY for the first time, this project is easy, fun, and guarantees stunning results.
What You’ll Need
Before we jump in, here’s a list of everything to grab for this project. Most of these items can be found at Dollar Tree or repurposed from your existing craft stash.
- A 14-inch dollar tree wire wreath frame
- Green pipe cleaners
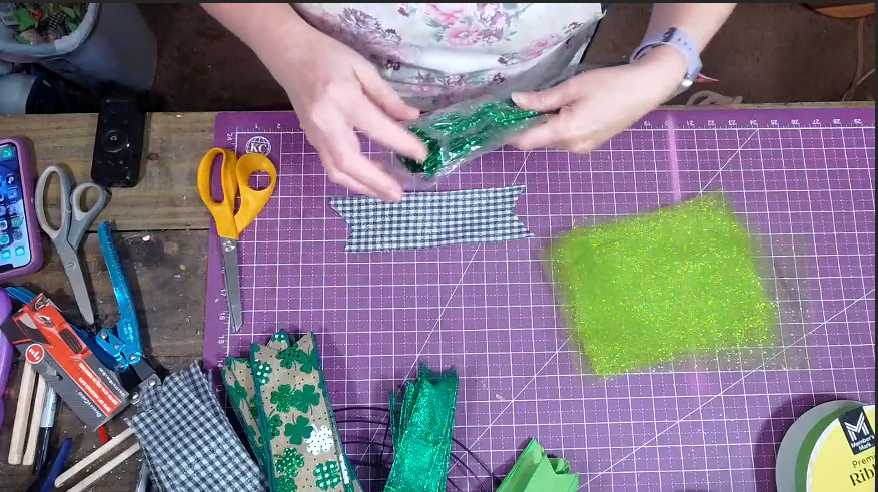
- A variety of green, black-and-white, shimmer and St. Patrick day themed ribbons (any size or texture you like)
- St. Patrick’s Day signs or decorations (like shamrocks or leprechaun-themed items)
- Scissors and a measuring board
- Wire cutters
- Hot glue gun and glue sticks for attaching signs or decorations
- A metal hole punch (optional but helpful for securing decorations)
Step-by-Step Instructions to Create Your St. Patrick’s Day Wreath
1. Prepping Your Supplies
Start by preparing your ribbons. Cut each ribbon into 8-inch pieces using your measuring mat or ruler ard to keep the lengths consistent. You’ll want about 24 ribbon strips of each ribbon in total to ensure your wreath looks full—mix and match the different patterns to add texture and interest.
To give your ribbon ends a professional finish, create dovetails. Here’s how:
- Take a few pieces of ribbon at a time and fold each in half lengthwise.
- Cut diagonally upwards from the folded edge toward the outer corner.
- Repeat until all ribbon strips have smooth, angled ends.

2. Cut and Prepare Pipe Cleaners
Grab your green pipe cleaners and cut them in half. You’ll use these to tie your ribbons tightly to the wreath frame.
3. Add Your Ribbons to the Wreath Frame
Lay your wire wreath frame on a flat surface and take one pipe cleaner.
- Wrap the pipe cleaner around one of the wire sections of the frame, ensuring it sits securely over the middle wires.
- Add 4 to 5 pieces of ribbon together in a small bow, alternating patterns or textures for a dynamic look. Then twist the pipe cleaner tightly, holding the ribbons in place.

Continue this process while spacing your ribbons evenly around the entire wreath. Aim for about four ribbon bows per section of the wireframe (you’ll have six sections total).
4. Fluff and Adjust
Once you’ve secured the ribbons across the wreath, spread them out by gently fluffing and arranging each ribbon. The goal is to ensure each piece is visible and no sections of the frame are exposed.
5. Add Festive Decorations
Grab your St. Patrick’s Day signs or themed decorations to make the wreath really pop. A shamrock cutout or a leprechaun sign works perfectly for this project.
- Use a metal hole punch to make small holes at the top and bottom of your decorations if needed.
- Secure the decorations onto the wreath using wire, gently twisting the ends around the frame. Make sure they’re tight and positioned where they complement the spread of ribbons.
For additional embellishments (like smaller shamrocks), use a hot glue gun to attach these securely between the ribbons. These small details can make a huge difference in giving your wreath that extra festive flair!
6. Add a Statement Bow
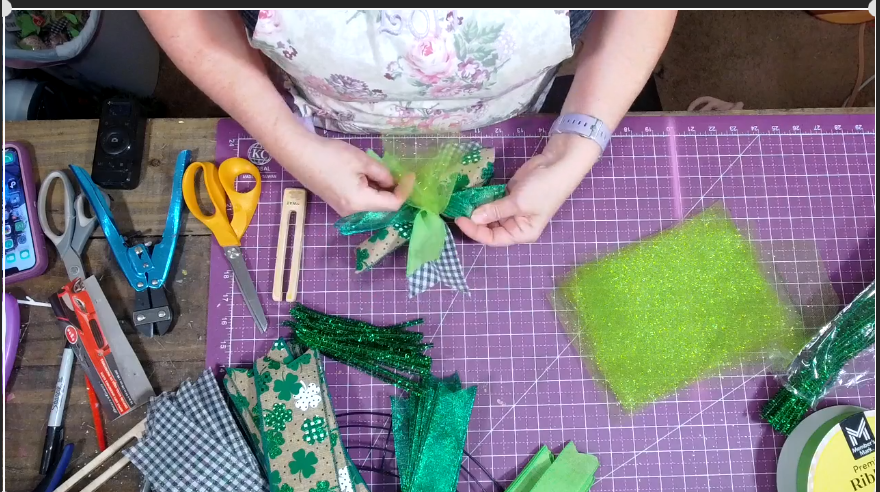
For the final touch, we’ll make a small statement bow.
- Choose two ribbons with different colors or patterns and lay them on top of each other. Cut an 18-inch piece for the bow’s tails and a 17-inch piece for the loops.
- Create two loops by overlapping the 17-inch ribbon ends slightly in the middle. Gather it tightly in the center to create a bow shape.
- Secure the bow with a pipe cleaner, twisting it tightly in the middle, and then attach it to your wreath wherever you’d like—top, bottom, or side.
Fluff the loops and tails to give your bow volume and secure it firmly to your wreath frame.
7. Final Adjustments
Once everything is attached, step back and check your work. Straighten out ribbons, ensure the decorations are secure, and add any final glue touches if necessary.
Show Off Your Festive Wreath
Your finished St. Patrick’s Day wreath is now ready to display! Hang it on your front door, above your mantel, or any spot in your home that could use a splash of green.
Tips for Budget-Friendly Crafting
- Mix Dollar Tree finds with craft store ribbon or decor for a unique look.
- Recycle leftover ribbon from previous projects to save on costs.
- Don’t hold back your creativity—personalize the wreath with items like faux flowers, glittery accents, or even fairy lights!
Luck Is in the Details
Crafting your own St. Patrick’s Day wreath is not just about saving money—it’s about creating something one-of-a-kind. With just a little time and effort, you can make a beautiful home accent that adds festive charm and celebrates the holiday in style.
If you try this tutorial, we’d love to see your creations! Share your photos with us or drop your tips for customizing wreaths in the comments below.
Happy St. Patrick’s Day crafting! ☘️
Meta Data
Meta Title: DIY Dollar Tree St. Patrick’s Day Wreath Tutorial
Meta Description: Create a budget-friendly St. Patrick’s Day wreath using Dollar Tree supplies! Follow this easy DIY tutorial for a festive and charming home accent.

