DIY Candy Corn Shelf Sitters: A Sweet & Simple Fall Craft
DIY Candy Corn Shelf Sitters: A Sweet & Simple Fall Craft
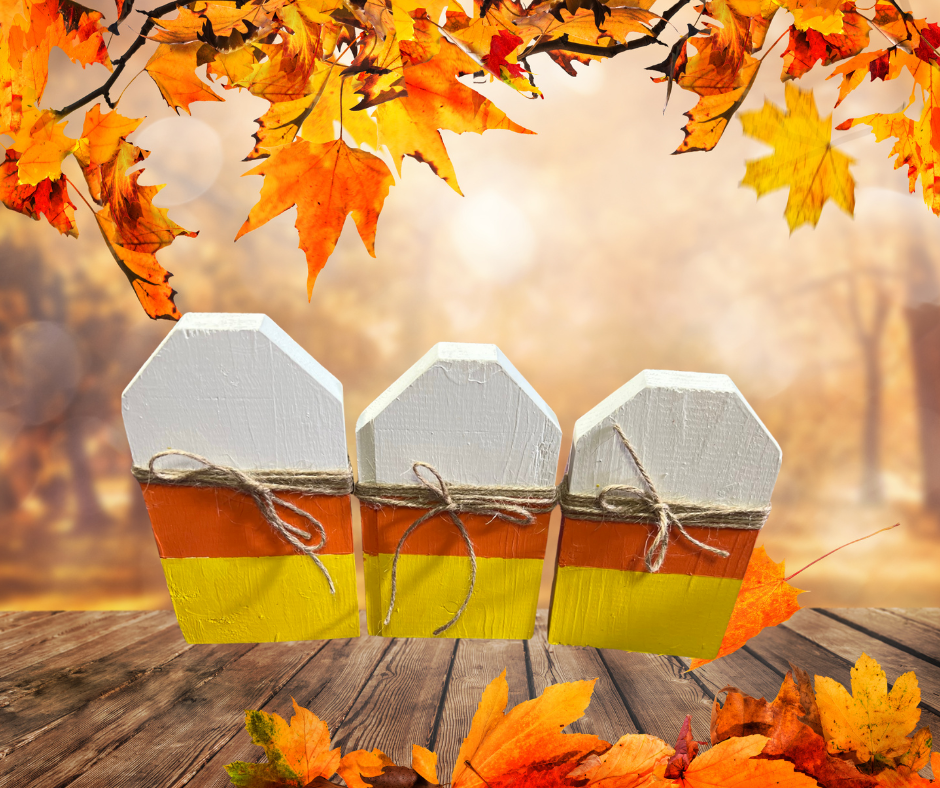
Fall is in the air, y’all! And what better way to welcome the season than with some fun and festive candy corn shelf sitters? These adorable wooden decorations are perfect for brightening up mantels, shelves, or tiered trays. In this tutorial, I’ll walk you through how to make these step-by-step using 1×4 wood pieces, some paint, and a whole lot of crafty joy. Let’s dive in!
Supplies You’ll Need:
- 1×4 wood pieces (cut at various lengths)
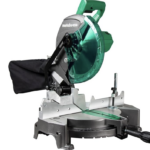
- Miter saw or hand saw
- White, orange, and yellow acrylic paint
- Painter’s tape
- Paintbrushes (small and medium)
- Sandpaper
- Hot glue gun or glue dots
- Jute twine
- Scissors
- Optional: decorative ribbon, buttons, vinyl faces, or embellishments
Step 1: Cut Your Wood Pieces
Start with 1×4 pieces of wood and cut them down to around 5.5–6 inches in length. The goal is to make each piece slightly different in size for a cute, staggered look when they sit together.
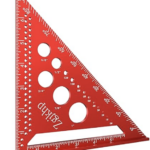
To give that signature candy corn shape, cut the top edge at a 45-degree angle. Draw a line across to guide your cut, then chop off that top little square corner. When you’re done, your wood pieces should resemble chunky little triangles. You can use a carpenter’s square to get your lines straight. You can use a table saw or a hand saw with a miter box to make the cuts you need.
Step 2: Prep & Base Coat
Give your wood pieces a quick sanding to make sure there are no rough edges. We want them smooth and splinter-free!
Next, apply a base coat of white paint over the entire surface, front, back, sides, and top. Let it dry fully and then add a second coat for solid coverage. This white base will help the yellow and orange pop!
Step 3: Tape for Color Blocking
Once the white is dry, it’s time to start color-blocking. Grab your painter’s tape and decide where your yellow section (bottom) will end. Tape all the way around each piece, making sure your lines are straight and even.
Then tape off the top section that will remain white, leaving the middle space open for the orange layer later.
Step 4: Paint the Yellow Section
Using a medium brush, paint the bottom section yellow. The white base really helps the yellow show up bright and cheerful! Apply a nice even coat and make sure you paint all sides. Let this dry completely before moving on.
Step 5: Tape Off for the Orange Layer
Once your yellow is fully dry, carefully remove the painter’s tape. Now apply a new strip of tape along the top edge of the yellow paint to protect it while you paint the middle section orange.
Repeat for the top edge, where the white will stay. Now your wood piece should have just the center exposed.
Step 6: Paint the Orange Section
Using a bright orange paint, cover the middle portion of your shelf sitter. This color may need two coats to get a nice solid coverage. Just make sure to let it dry between coats.
If any paint sneaks under the tape, don’t worry! You can use a small detail brush to clean it up once everything’s dry.
Step 7: Add Finishing Touches
Now for the fun part, embellishing!
Take a bit of jute twine and hot glue or wrap it around the top or bottom of each block for a rustic touch. Wrap it tightly and glue as needed to secure it.
You can also add a simple bow using a longer piece of jute or decorative ribbon. Attach it with a glue dot or hot glue right to the front. If you’re feeling extra crafty, try adding a little vinyl face or even hand-painting a silly smile.
Bonus Ideas:
These wooden shapes are so versatile — you can customize them in all kinds of ways:
- Make a pencil version by painting yellow and adding a black tip for a teacher gift.
- Turn it into a little house with a chimney and windows.
- Use different colors for other holidays, pastels for spring, red and green for Christmas!
Display Your Shelf Sitters
Once everything is dry and decorated, these cuties are ready to sit proudly on your shelf! Group them together, add them to your fall tiered tray, or gift a set to a friend. They’re a simple, affordable project with a whole lot of charm.
Final Thoughts:
Crafting doesn’t have to be complicated to be cute! These DIY candy corn shelf sitters are the perfect weekend project to ease into the cozy fall season. Whether you’re a seasoned maker or just dipping your brush in, this one’s easy, fun, and totally festive.
So grab your paintbrushes, cut some wood, and let’s get ready for fall, one candy corn at a time!
Pin it for Later!
Don’t forget to share your candy corn shelf sitters with me, tag @HardWorkingMom on social!
