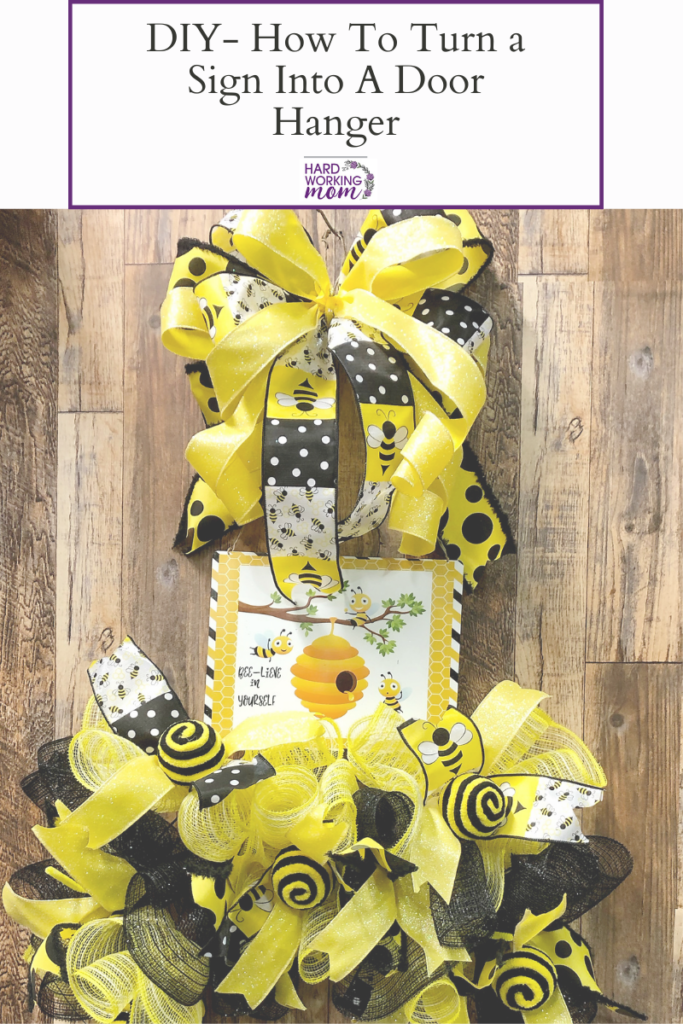
DIY- How To Turn A Sign Into A Door Hanger
Method:
Ruffle Method
Supplies:
Most supplies can be found at Trendy Tree
Get the Project Kit here.
- 14in Dollar tree wreath frame
- 10in black tensile mesh
- 10in Yellow jute mesh
Bee Sign https://hardworkingmomstore.com/produ…
Ribbon
- 2.5in Bee ribbon
- 2.5in Yellow with black dots ribbon
- 1.5 in Yellow glitter ribbon
Steps:
Start by cutting your wreath form with wire cutters into sections. Cut the frame into three sections. One section will have three divided spaces. One section will have two divided spaces and the third section will have one divided section.
Punch holes in the middle BOTTOM of your sign about 2in apart. Run two pieces of floral wire through each hole with the smallest wreath section (single section) of the work frame directly above. Tie the bottom of the work frame to the bottom of the sign with about ½ inch space between. Just enough space to hang freely.
Next, place the biggest section (3 divided sections) directly on top of the single section piece. Use two zip ties to hold them in place together as well as wire (optional) for extra strength.
Now let’s decorate!
Place ties on our wreath. I used yellow pipe cleaners to tie to both the bottom rung and the second level of the wreath form. From here, space your ties out to about 4 inches apart. I’m now going to place ties to the bottom rung and third section on the opposite side of the form. On the side closest to your side, avoid putting ties and mesh directly underneath so it won’t cover up your sign.
Cut all of your mesh to 20-inch sections and your ribbon into 12-inch sections.
Take your yellow cut mesh and roll a couple of times on each end and then ultimately creating a ruffle. Use two pieces of different designed ribbon, place on top of the ruffle, and hold in place with a tie on the wreath form.
Now take the black mesh, roll a couple of times on each end, and create a ruffle. Repeat with two pieces of ribbon and tie onto your work form. Continue alternating mesh colors for the remainder of the wreath.
Finally, to tie your wreath punch holes in the top outer corners of the sign. I used about 20 inches of bind wire to run through the holes in each side of the sign.
If you want to add an extra flair to your wreath, use the Bowdabra to create a beautiful oversized bow to place on top!
For extra support, find the video tutorial here: