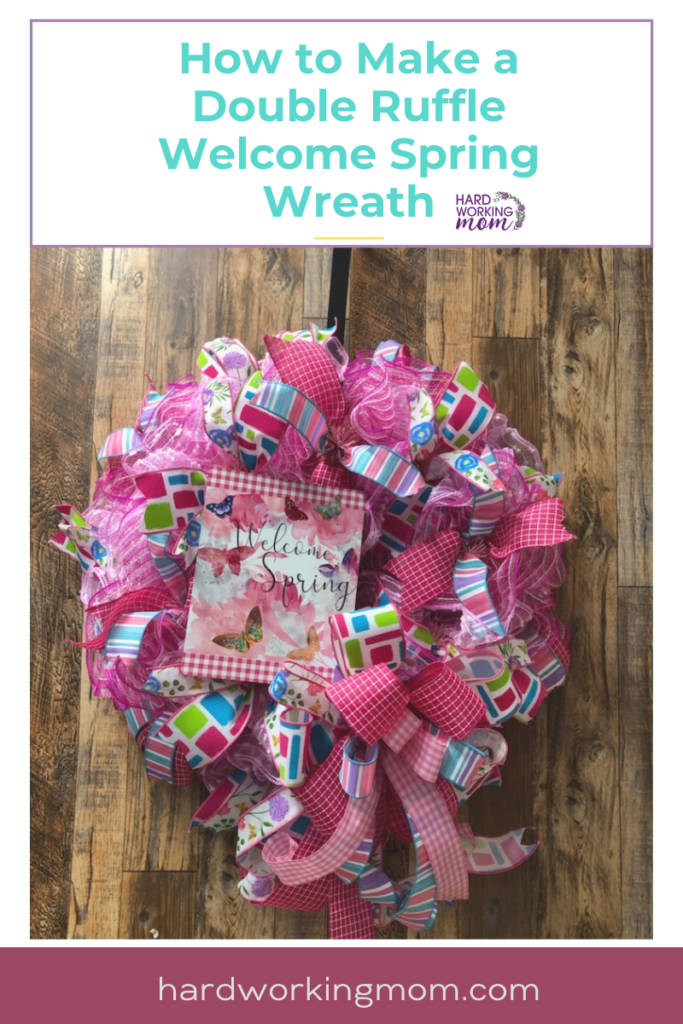
How To Make A Double Ruffle Welcome Spring Wreath
METHOD
Ruffle
SUPPLIES
10in Pink Snow Deco mesh
2.5″ Pink dashed Ribbon
2.5″ white, pink, blue and green brush stroke ribbon
1.5 Spring flower and butterfly ribbon
1.5″ White, pink, blue, and purple stripe ribbon
STEPS:
Begin by cutting both mesh rolls into 30 inch sections.
I’m going to then ruffle my jute mesh and place the first piece onto the bottom rung of the work wreath. Next, I’m going to ruffle the snow mesh and place on the bottom rung alternating between the two mesh rolls.
For my ribbon, I used the paintbrush stroke with the Spring flower print ribbon together and layered on top of the snow deco mesh. My next combo will be the striped ribbon with the pink dashed ribbon. I secured this ribbon combo on top of the jute mesh. Don’t forget to cut off the access length of the tie after securing the ribbon! Continue alternating mesh and ribbon on all levels of the work wreath.
We always need a bow! I used my ProBow to create the perfect oversized bow to place on my wreath.
I created a bow with 12 inch tails and used all four ribbon designs. A ziptie can be used to secure your ribbon together when removing from the ProBow maker and a pipe cleaner is great for tying onto your wreath!
Since this is a smaller sign, I made holes in the top and bottom of my sign with a hole punch and ran floral wire through each side. Then, I ran the wire through the holes and secured in the back of the wreath.
Follow us on TikTok for video tips!
Don’t forget to tag Hard Working Mom in your wreaths on Facebook & Instagram using @hardworkingmom & @hardworkinglori

