How To Make A Ruffle Valentines Wreath
Supplies Needed:
Most supplies can be found at Trendy Tree: https://www.trendytree.com/?sscid=11k5_hmv1r
- 15in pink work wreath frame
- 10in pink snow mesh
- 10in red snow deco mesh
- Mail me a kiss sign and ribbon set
-2.5in Red with white polka dots ribbon
-2.5in White with red swirls ribbon
-1.5 in Valentines writing ribbon
-1.5in Pink, red, and white diagonal striped ribbon
Steps:
Start by opening up the ties on the wreath form.
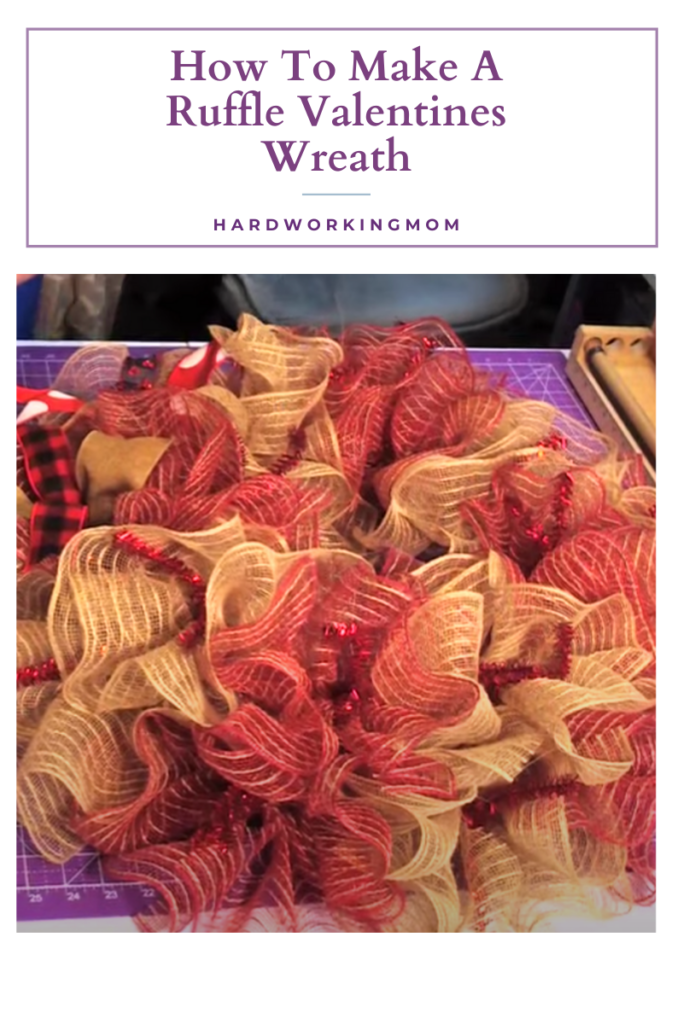
Cut all of your mesh to 30in. Ruffle your red mesh first and hold it in place with a tie on the bottom level of your form.
Cut your ribbons to 12in and alternate ribbons on top of each ruffle.
Trim the remaining tie length after the ribbon is in place.
Next, ruffle a piece of pink snow mesh, secure in the next place on the bottom level of the wreath form, and place two alternating ribbons within the same tie. Again, trim the remaining tie length.
Continue alternating mesh on the bottom level of the form, continue to move to the top levels.
For your sign, you can place it in the middle or the side. For this tutorial, I will place it on the side and add an oversized bow to the opposite side! Punch holes in the top and bottom using a metal hole punch like this one here. I cut floral wire to 26in and then cut in half to tie to each side of the wreath. Place your sign where you desire and secure the wires down through the bottom of the wreath on one of the levels.
To create an oversized bow I used my favorite tool, the Bowdabra, using each design of ribbon!
Do you enjoy creating seasonal wreaths each month? Subscribe to my monthly wreath kit club! Check it out here: https://hardworkingmomstore.com/products/monthly-subscription-wreath-kit