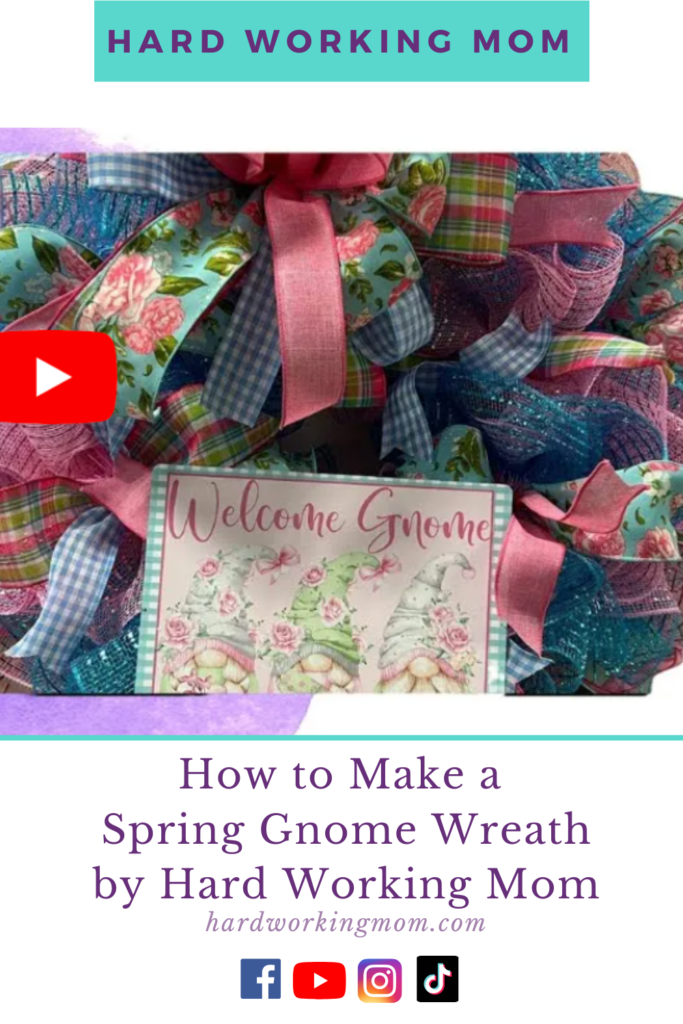
How to Make a Spring Gnome Wreath
If you love gnomes then you’ll love my How to Make a Spring Gnome Wreath tutorial. You can access the video at the end of the post.

Supplies You Need to Make a Spring Gnome Wreath
I like to use kits for creating wreaths and for this one, we’ll be using a Welcome Gnome Kit using method 2 and option 1, which is 30” ruffles. But before we get into how to make the wreath, here is a list of supplies you’ll need (or want to have on hand):
- Mesh
- 15″ pink wreath form
- 25 yards of ribbon
- 25 yds of 1.5in Pink Denim ribbon
- 5 yds of 2.5in Turquoise, Fushia, Green, and white checked ribbon
- 5 yds of 2.5in Turquoise Floral ribbon
- 10 yds of 1.5in Turquoise with checked edge ribbon
- 10in by 10 yd roll of Pink mesh
- 10in by 10yd Turquoise mesh
- Sign
Most of these supplies can be purchased in my store or from Trendy Tree. In addition to having these to make the wreath, I also use other supply accessories such as a measuring cutting mat, a mesh roller, and a rotary cutter. This makes cutting the mesh in precise measurements much easier. But if you don’t have these yet, that’s okay!
How to Make a Spring Gnome Wreath
This wreath is simple and fun to make. Grab your craft buddies and get ready to have a wreath-making good time!
Step One
Begin by cutting nine 30-inch pieces of pink and turquoise mesh. Then cut nine, 12” strips of each ribbon. Once cut, fold the ends of the ribbon over and cut to create a dovetail finish.
Step Two
Open the bottom ties on the wreath (leaving the top alone for now). Then, separate the mesh pieces and begin doing the ruffles. Place your thumbs in the middle while scrunching it together. Tie it to the wreath using the ties. Once you get two on the wreath, go ahead and fluff them together. Afterward, take two ribbons and attach them on top of the ruffle mesh piece, tying it with the ties. Be sure to cut off the access twist tie and tuck it in.
Continue this step until the bottom is filled with mesh and ribbons.
Step Three
Open the ties on the top. And repeat step two until the top is filled in. I did spread out the ribbons a bit more for this area.
Step Four
For the bow, I cut about 15” of mesh (pink and turquoise). I do this because I don’t want the bow to sink into the wreath. No one will see this, it’s only used to help plump up the bow.
Start with the multicolor on the bottom then stack the other ribbons on top to make a spider bow (see video tutorial for details). Once the bow is made, attach it to the wreath using a zip tie and/or floral wire.
Step Five
Now it’s time to attach the sign. I opted in for putting the sign on the bottom of the wreath, meaning the bow would be positioned on the top left. You can choose your own placement for the sign if you don’t like how my choice looks.
I attach the sign using a floral wire because it makes it a bit easier to attach to the wreath form.
Where to Hang Your Spring Gnome Wreath
Of course, you can’t go wrong with hanging this pretty wreath on your front door; however, that isn’t the only place you can hang a wreath like this. This would also go perfectly in a gnome-themed garden or can be used as decoration for a gnome-themed party.
Final Thoughts
Did you make this wreath? I’d love to see it and hear your thoughts about it! Be sure to check out the video tutorial below and subscribe to my YouTube channel for more wreath-making tutorials. Also, check my website for other wreath kit options available.

