How To: Tulip Grapevine Wreath
Add this cute DIY tulip wreath to your Spring decor! This How To: Tulip Grapevine Wreath includes supplies, easy-to-follow instructions, and a video tutorial. Find it below!
Don’t forget to check out the Hard Working Mom groups for both starting a handmade business of your own or monthly wreath designs!
Business Group- https://hardworkingmom.com/success-path/
Wreath design group- https://hardworkingmom.com/product/de…
SUPPLIES
Most supplies can be found at Trendy Tree or Hardworkingmomstore.com
Ribbon
- 1.5in Purple, pink and blue ribbon
- 1.5in Yellow, pink and blue ribbon
STEPS:
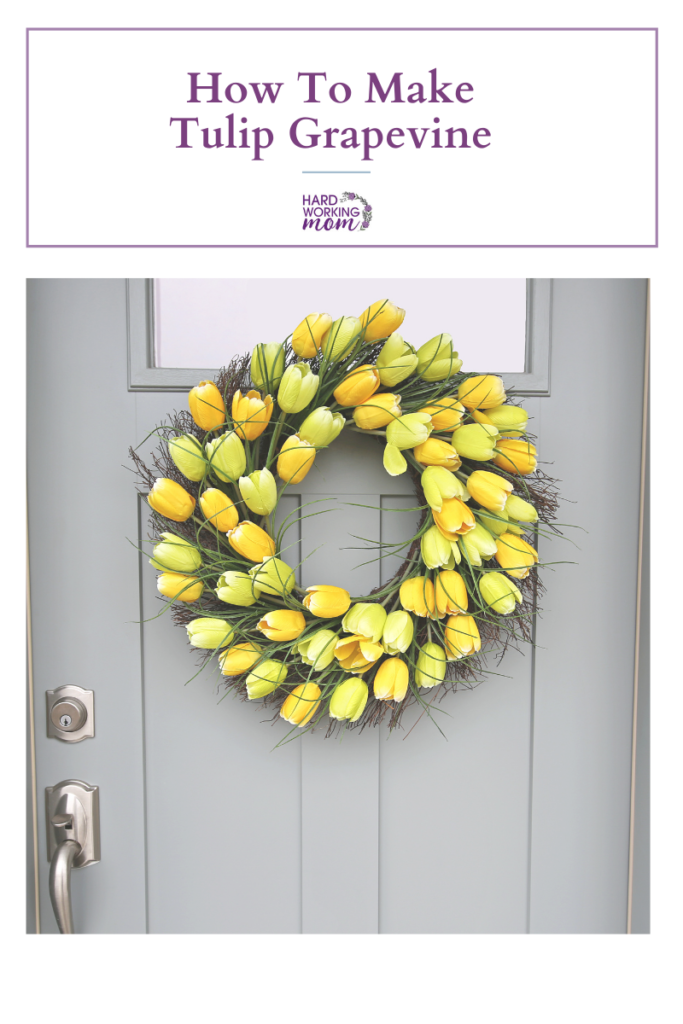
First, I will begin by picking which side of my grapevine wreath has more fluffy versus more flat. I want to add my decor to the fluffier side. Next, take tulips in bunches of 3 ( I used 2 yellow and 1 purple) and add in a few pieces of greenery just for extra volume to make sure the tulips cover the full base of the wreath. Trim the bottom to only an inch or two to stick through the grapevine. Use heated glue like I am or hot glue to coat the bottom of the tulip bundle and stick them in the wreath with the grain. With each bundle I am adding will place them behind one another going in the same direction and pull them up off of the wreath for a fuller look.
I added super simple bows to my wreath! These are optional, but if you’d like to add flair to your wreath you can find the full video tutorial to this project HERE and see just how easy it is to make these bows!
This is a perfect gift for Spring or Mother’sDay!
“Don’t forget to tag Hard Working Mom in your wreaths on Facebook & Instagram using @hardworkingmom & @hardworkinglori“