

How to Turn a Simple Sign into a Beautiful and Easy to Make Door Hanger With Mini Bows
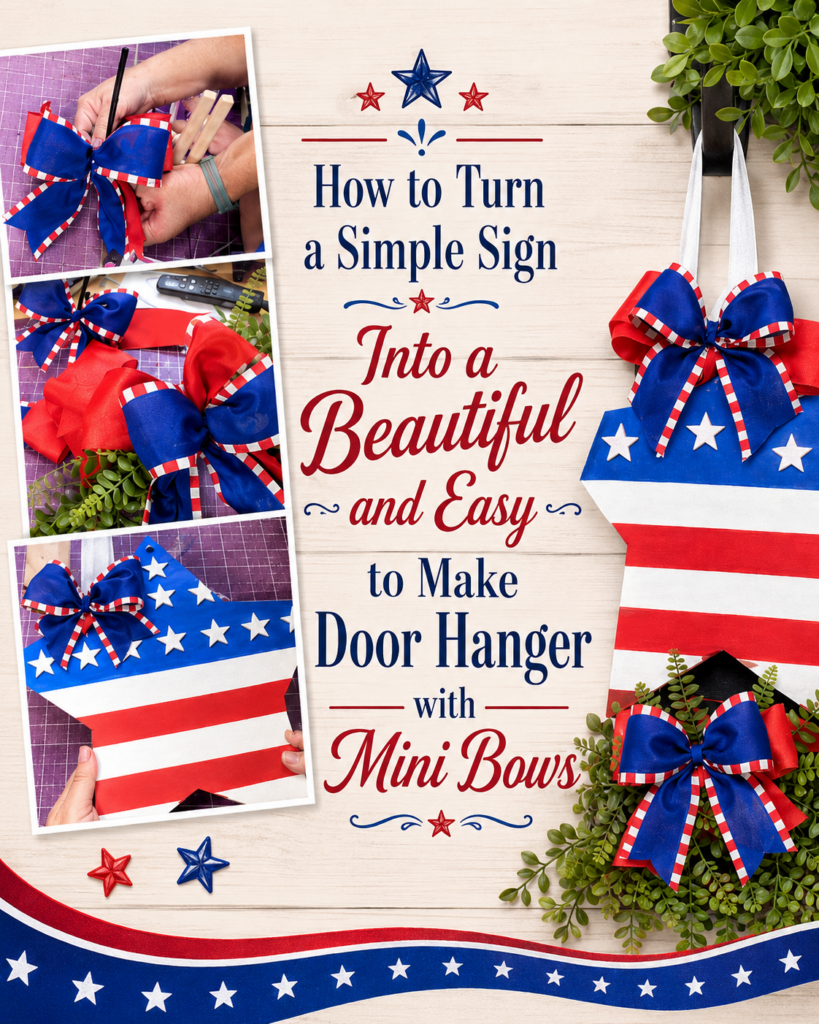
How to Turn a Simple Sign into a Beautiful and Easy to Make Door Hanger With Mini Bows
Sometimes the simplest projects turn out to be the cutest! If you have a decorative sign that needs a little something extra, adding a mini bow is an easy and inexpensive way to transform it into a beautiful door hanger.
One of the best parts about making mini bows is that you don’t need a lot of supplies. In fact, this is the perfect project for using those leftover ribbon scraps we all hate to throw away! You don’t even need a bow maker because these adorable little bows can easily be made by hand.
The most important thing is making your bow proportional to your sign. You want the bow to enhance the design, not cover up the words or artwork.
Supplies Needed
- Decorative wood or metal sign
- Assorted wired ribbon scraps
- Pipe cleaners
- Scissors
- Measuring tape or ribbon ruler
- Zip ties, optional
- Staple gun, optional
- Felt, cardboard, or scrap wood, if needed for attaching
- Greenery, optional
- Floral tape, optional
- Burlap, raffia, or fabric, optional
Step 1: Measure Your Sign
Before cutting any ribbon, decide where you want your bow.
Place a piece of ribbon across the sign and determine how far it can extend without covering important details. For the smaller door hangers in this project, approximately 8-inch ribbon pieces worked perfectly for a scrap-style bow.
Every sign is different, so don’t automatically use the same measurements. Let your sign determine the size of your bow.
Step 2: Make an Easy Pinwheel Scrap Bow
For an incredibly easy bow, cut several coordinating ribbons into approximately 8-inch strips.
Finish the ends by dovetailing them. Fold each ribbon in half lengthwise and cut upward toward the wired edge at an angle. Always cut away from your body. This creates that pretty V-shaped finished edge.
Lay a pipe cleaner underneath your ribbon pieces. Arrange the ribbons in different directions to create a pinwheel pattern, making sure all the pieces still intersect in the center.
Pinch everything together and secure tightly with the pipe cleaner. Fluff and reposition each ribbon so the colors and patterns are visible.
That’s it! You have an adorable scrap bow that’s perfect for a sign or door hanger.
Step 3: Make a Traditional Mini Bow
If you prefer a more traditional bow, start by determining your loop size. For this project, a 3-inch loop was a good proportion.
You’ll need:
- Two approximately 5-inch tails
- Two 6-inch sections to create 3-inch loops
That means you’ll need approximately 22 inches of ribbon altogether.
Cut your 22-inch piece and dovetail both ends. Measure approximately 5 inches for your first tail. Fold the ribbon to create your loops, then crisscross the tails behind the bow.
Pinch everything tightly in the center and secure it with a pipe cleaner.
The crisscross in the back is important because it keeps your mini bow together and gives you those pretty tails underneath.
Step 4: Make a Layered Mini Bow
Want a little more pizzazz? Layer two or more coordinating ribbons together and treat them as though they’re one ribbon.
You can also make a larger bow for the back and a slightly smaller bow for the front. Once secured, separate and fluff the individual ribbons so you can see each pattern.
This creates a fuller bow without making it so large that it overwhelms your sign.
Burlap also makes a beautiful backing layer. Combine burlap with a colorful patterned ribbon for an easy farmhouse-style door hanger.
Step 5: Attach Your Bow to the Sign
If your sign already has holes, simply thread your pipe cleaner through the holes and twist it securely on the back.
If your sign doesn’t have holes, you have several options. You can create a raised attachment area on the back using felt, cardboard, or scrap wood and carefully staple the pipe cleaner to it.
Avoid stapling directly through your beautiful ribbon. If you ever need to remove or replace the bow, you could damage it.
Whenever possible, I love making bows removable. That way, you can replace a damaged bow or completely change the look of your door hanger later.
Add a Little Greenery
For another beautiful option, create a tiny greenery swag to place behind your bow.
Arrange several greenery stems so they extend in opposite directions. Zip-tie them together in the center and wrap the attachment area with floral tape. Then attach the greenery swag to the back of your bow.
The floral tape not only makes everything look finished but also helps prevent the stems and zip ties from scratching your sign.
Don’t Be Afraid to Experiment!
Ribbon isn’t your only option. You can create mini bows using burlap, raffia, or even fabric scraps. Raffia makes a wonderful rustic bow, while small fabric pieces create a soft and whimsical look.
The biggest secret to making beautiful door hanger bows is simply proportion. Measure first, keep your loops and tails small enough to complement your sign, and don’t cover the details that make your sign special.
So grab those ribbon scraps you’ve been saving and turn a simple sign into an adorable handmade door hanger!