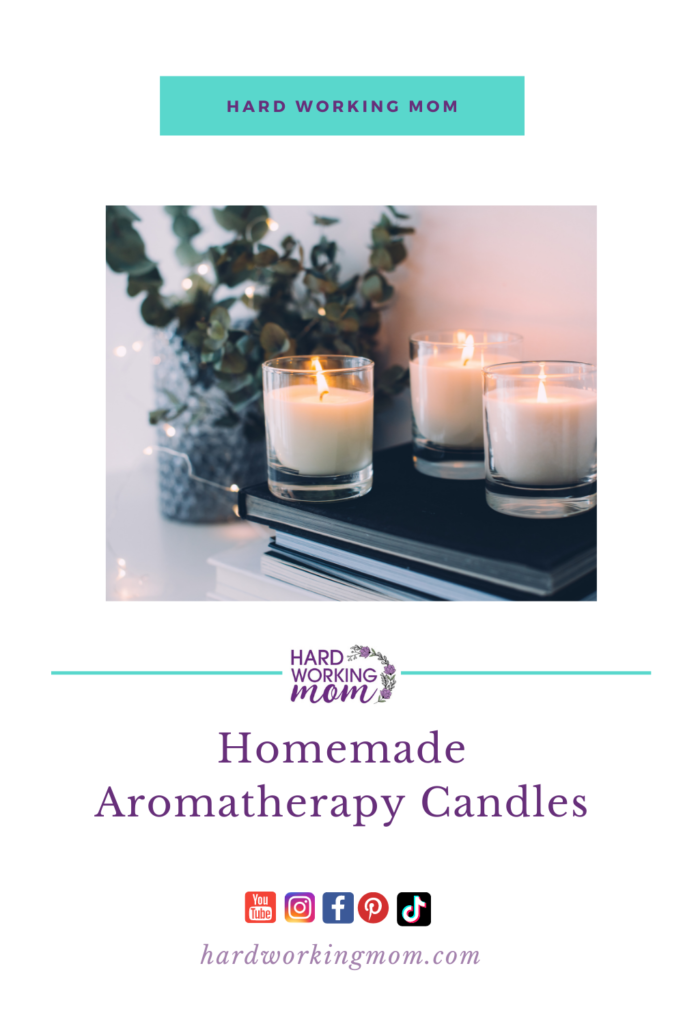
Homemade Aromatherapy Candles
If you love candles but want to cut down on spending, the best thing to do is make your own, it’s fun and easy, you can even get your children or partner involved and use it as a team-building exercise.
If you’re ready to dive head-first into the wonderful world aromatherapy and of homemade candles, here’s everything you’ll ever need to know.
Getting Started – Soy Wax
These fragrant candles are quite simple to create in terms of components. Soy wax flakes and essential oils are all that is required (plus your tools). Why is soy wax used? Soy wax candles burn cleaner, with less soot produced while the candle burns. They are also non-toxic, so they will not emit toxins while they burn.
Soy wax melts fast and is simple to handle; however, you’ll want to mix it with a disposable instrument because it adheres to everything and is tough to remove after it’s set. I use a wooden chopstick that I can throw once I’m through creating candles.
Add In Some Essential Oils
Aromatherapy candles are really just essential oil candles. You’ll need to add between 80 and 120 drops of essential oil. To those of you familiar with essential oils, this might seem like a lot, but it is spread among four candles. The amount you use will be determined based on the essential oils you select. Remember, different oils have different effects on the mind, body, and spirit. Simply add the oils to the melted soy wax, but do keep in mind which essential oils work best together, and which don’t mix well.
The Preparation Phase
This is where errors occur, so pay close attention to the following stages while producing your aromatherapy candles. Cut your wicks to be longer than the vertical height of your jar. After they have set, you may trim them down. Anchor your wicks by putting a little of wax at the bottom of your empty jar and pushing it into place with a chopstick. Place a chopstick (or a pen) horizontally over the top of the jar. Tape your wick to it so that it is erect and totally straight. It won’t burn properly if it isn’t positioned correctly.
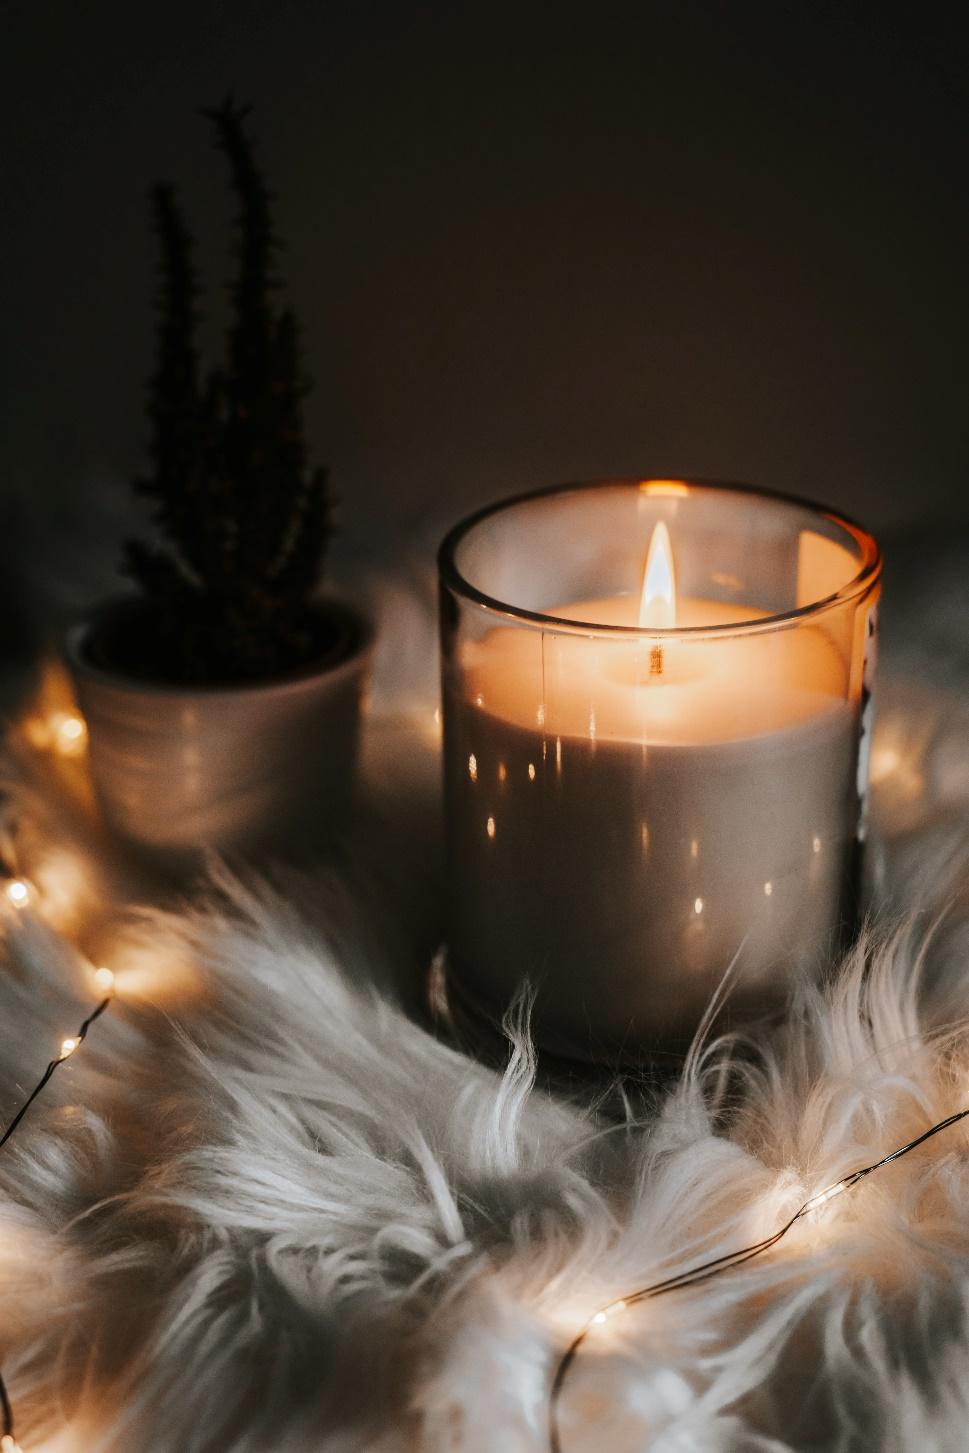
Pour the wax straight into the jar, filling it to just below the lip and around the wick. Always pour your candles into jars on top of the newspaper. Otherwise, you’ll have the wax all over the place. And removing wax from your cooktop is a chore (believe me!). Most importantly, DO NOT DRAIN LEFTOVER WAX, it WILL clog your drain. You may allow your candles to set in a cool place for approximately one hour. Before burning, trim the wicks. Now that you’ve gathered all of your resources, let’s make some handmade aromatherapy candles!
INGREDIENTS
6 cups soy wax flakes
natural wicks
80–120 drops of essential oil
Other tools: glass jars, wooden stirring spoon, pens or chopsticks to Keep your wicks secure.
Instructions
- Melt the soy wax in a saucepan on low-medium heat. The wax should melt fairly quicky, but if it takes more than a few minutes, increase the heat slightly. Once melted, add 80-120 drops of your preferred essential oils and mix with a wooden stirring tool. The amount depends on the type of essential oil and its potency.
- Using a little amount of wax, secure wicks to the bottom of mason jars.
- Tape the wick upright to a chopstick or pen that is horizontal (see picture above).
- Pour wax into a mason jar and repeat until all of the jars are filled. You may have some wax left over depending on the size of your mason jars.
- Allow to stand until firm (about 1 hour).
- Cut the wick however long you want it.
And your first homemade candle is ready! Let us know how you did. You can find us at hardworkingmomstore.com, and look for us on Youtube and all social media platforms for more DIY tips and tricks!