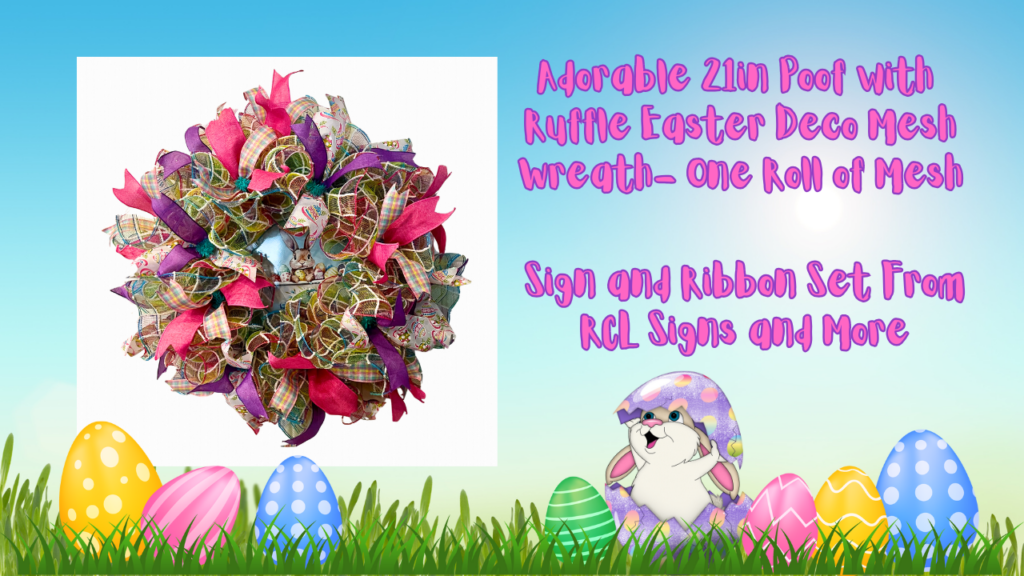
How to Make a 21-Inch Poof with Ruffle Deco Mesh Wreath Using One Mesh Roll
How to Make a 21-Inch Poof with Ruffle Deco Mesh Wreath Using One Mesh Roll
Looking to create a stunning, budget-friendly wreath that’s sure to impress? This step-by-step tutorial will show you how to make a beautiful 21-inch poof with a ruffle deco mesh wreath using just one roll of mesh. Perfect for DIY enthusiasts, home decor lovers, and crafters, this guide will walk you through the process, from cutting and assembling your deco mesh to styling the perfect ruffles and adding decorative touches. Let’s get started!
What You’ll Need:
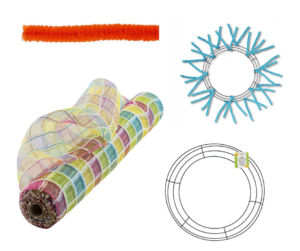
- 21-inch roll of deco mesh (choose colors for spring, Easter, or summer themes)
- Wreath frame (Dollar Tree frames work great; you can add your own ties)
- 18 pipe cleaners (10 on the bottom, 8 on the top)
- Scissors
- Clips or a tool for holding the mesh
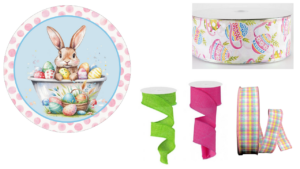
- Decorative ribbons (optional, as explained in the final section)
- A sign for the centerpiece (optional)
Step 1: Preparing the Deco Mesh
To create the poof ruffle method, the first step is to cut your mesh into 15-inch strips. Follow these instructions:
- Roll out your 21-inch deco mesh and use scissors to cut 18 pieces, each 15 inches long.
- Keep in mind that all mesh tends to fray. You don’t need to wood burn it, as the poof ruffle design naturally keeps fraying minimal.
Once you’ve cut your pieces, you’re ready to begin assembling the wreath.
Step 2: Setting Up the Wreath Frame
Prepare your wreath frame to begin attaching the deco mesh:
- For the base of your wreath frame, attach 10 pipe cleaners evenly spaced around the bottom ring and 8 pipe cleaners around the top ring.
- Open the pipe cleaners to make it easier to secure your mesh as you work.
Step 3: Creating the Poof Ruffle
The poof ruffle method creates a gorgeous full look with minimal effort. Here’s how to do it:
- Start Tucking and Ruffling:
-
-
- Place one piece of mesh flat on the table. Tuck in about 4 inches at one edge to create a clean starting point.
- Using your hands (or a tool), gather the mesh in a straight line, keeping the edges tucked under to create a ruffle shape. It should look like a candy wrapper with a poof in the middle and curled ends.
- Secure the gathered center with a clip.
-
- Attach the Mesh to the Frame:
-
-
- Take one end of the gathered mesh and secure it into a pipe cleaner on the wreath frame. Adjust so the poof sits in the middle with the ruffles on either side.
- Twist the pipe cleaner tightly to secure the mesh in place.
-
- Repeat Around the Frame:
-
-
- Continue the same process—tuck, ruffle, and attach to the next pipe cleaner. Work your way around the entire bottom ring of the frame.
-
- Layer the Top Row:
-
-
- Once the bottom layer is complete, move to the top ring of the frame. Repeat the same process, ensuring that the ruffles sit on top of the previous layer for a full, balanced look.
-
Step 4: Arranging and Fluffing
To achieve that beautiful, polished look:
- Arrange your ruffles so that they stand up, ensuring both ruffles on either side of the poof are visible.
- You can gently twist or reposition the ruffles as needed to create a uniform and voluminous effect.
Step 5: Adding Decorative Elements
Now that your base is complete, it’s time to add some flair with ribbons and a centerpiece:
- Ribbons:
-
-
- Choose 3–4 complementary ribbons. For a cohesive look, mix patterns (like stripes or polka dots) with solids. Cut ribbons to 12 inches and dovetail the ends for a professional finish by folding the ribbon and cutting diagonally upward toward the wired edge.
- Pinch each ribbon in the center, creating a slight curve, and secure it into the pipe cleaners.
- Alternate ribbon colors and designs as you work your way around the wreath, spreading the ribbons for a crisscrossed effect on the top layer.
-
- Adding the Sign:
-
-
- Nestle a decorative sign (like an Easter bunny or seasonal message) in the center of the wreath. To keep it in place, you can:
- Use pipe cleaners twisted together as a cushion behind the sign.
- Attach the sign to the frame with the pipe cleaners, ensuring it stays level and secure.
- Optional: Use plastic mesh or foam for added stability.
- Nestle a decorative sign (like an Easter bunny or seasonal message) in the center of the wreath. To keep it in place, you can:
-
Step 6: Final Touches
Step back and admire your work! Ensure all ruffles, ribbons, and decorations are fluffed and arranged to your liking. The poofs should blend seamlessly with the ruffles, creating a full and festive wreath.
If you used seasonal colors, this wreath not only makes a great spring or Easter decoration but can double as a cheerful summer piece, too. And the best part? You made it all with just one roll of deco mesh, saving you money without sacrificing style.
Wrapping Up
Congratulations! You’ve mastered the 21-inch poof with the ruffle deco mesh wreath technique. This method is budget-friendly, fun, and easily customizable for any season or occasion. Whether you’re a seasoned wreath maker or just starting, this project is a fantastic way to add a personal touch to your home decor.
Feeling inspired? We’d love to see your finished creations! Share your wreath photos and tag us on social media. Plus, don’t forget to visit RCL Signs and More for gorgeous ribbon sets and custom decorative signs to make your wreath truly one-of-a-kind. You got this, and we can’t wait to see your wreaths in action!
