
How to Make a Fall Evergreen Front Door Swag
If fall is your favorite time of year, then this fall swag tutorial is perfect for you. This fall wreath uses a variety of ribbons and flowers that are usually found in fall decor. The final product will be 34 inches in diameter to easily fit on the front door or any other place inside your home, lets get started.
You can also find the video tutorial of this wreath on YouTube don’t forget to subscribe. Here are the supplies you will need to get started:
34 in swag wreath
20 yards of ribbon:
10 Yards of 1.5in yellow, green, and orange ribbon
10 yards of White truck pumpkin ribbon
2 yards 1.5 in Orange and White polka dot Ribbon
3 Orange sunflowers
1 10in Green/Orange basketweave burlap mesh
5 Orange/flower Pumpkin picks
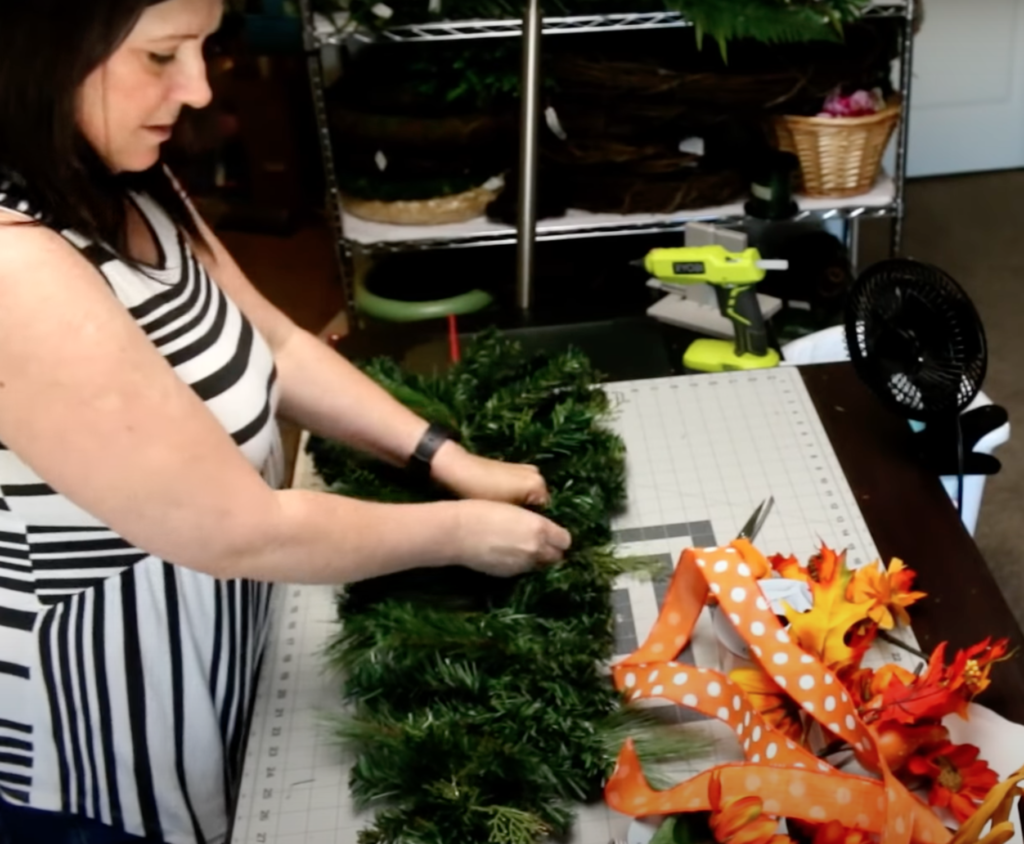
Step 1. Fluff out your evergreen and create a center so you are able to add the mesh and ribbons later on. Making sure there are even numbers on each side.
Step 2. When I am happy with how it’s fluffed out I will go in and add my mesh I am using a basketweave mesh you could use really whichever type of mesh you want to use. Check out hardworkingmomstore.com for signs & wreath supplies.
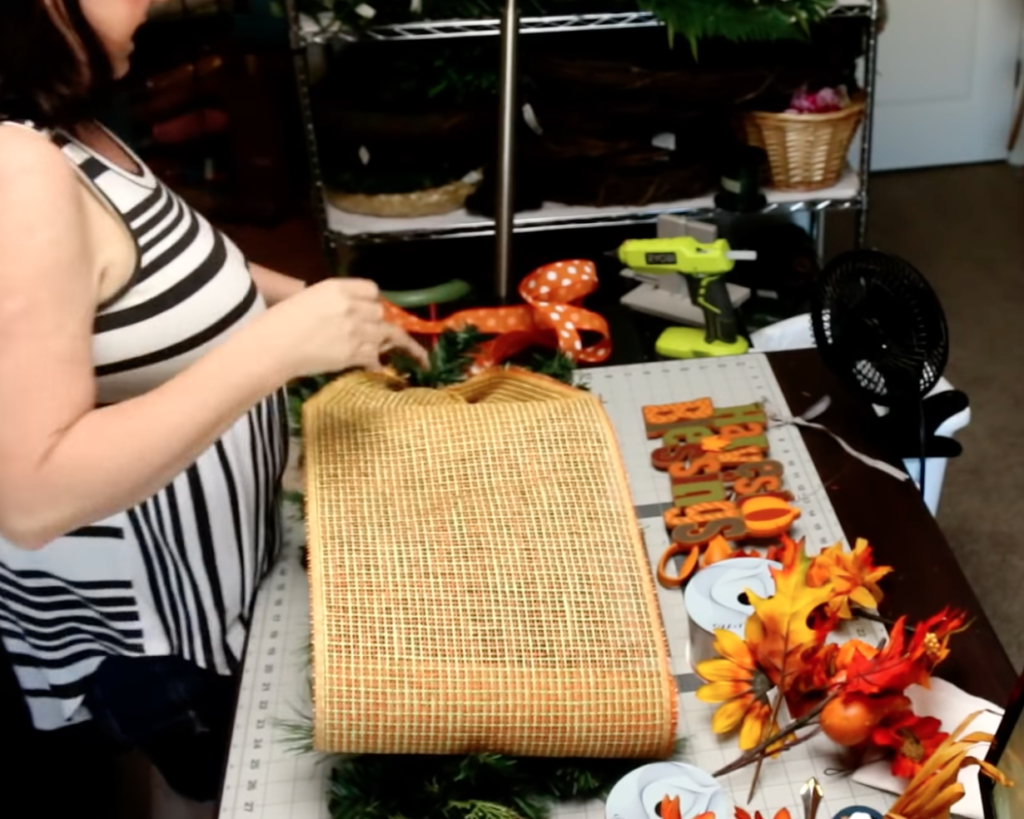
We will be adding some poofs in & then with the extra mesh we will add some ruffles. I want to start at the top by scrunching together the best part about the evergreen is that you will be able to tie the mesh into it. I will create about an 8″ inch poof I will do this all the way down every 5 inches. You should end up with 4 poofs. When you get to the end of the poofs I will cut it off and leaving some hanging you can do one or two things tuck it. or leave it with some hanging down.
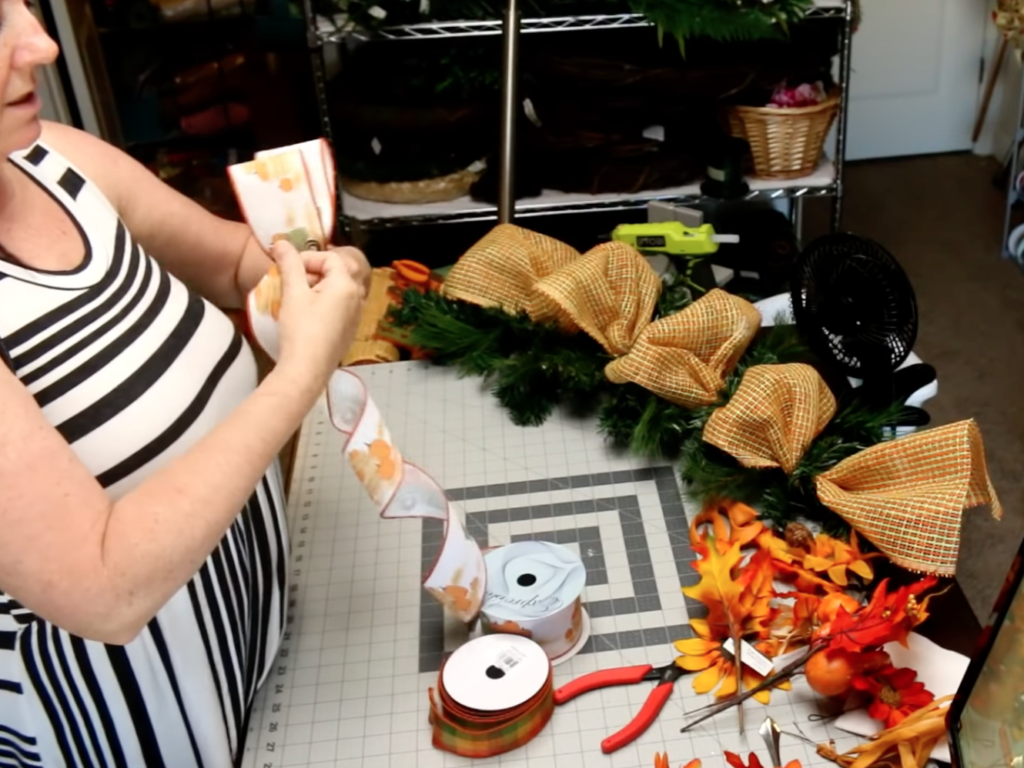
Step 3. The important feature of swag is the bow! You want to make sure you have a juicy bow. You can create 4″ inch loops with your 2.5-inch ribbon of our choice you can do a funky bow or you can do a regular bow by hand which is what I will be doing for this wreath. If you are not comfortable doing bows by hand you can always use your EZ bow maker! You want 6 loops at least so it’s a nice size bow. Don’t forget to fluff out your bow when you are finished!
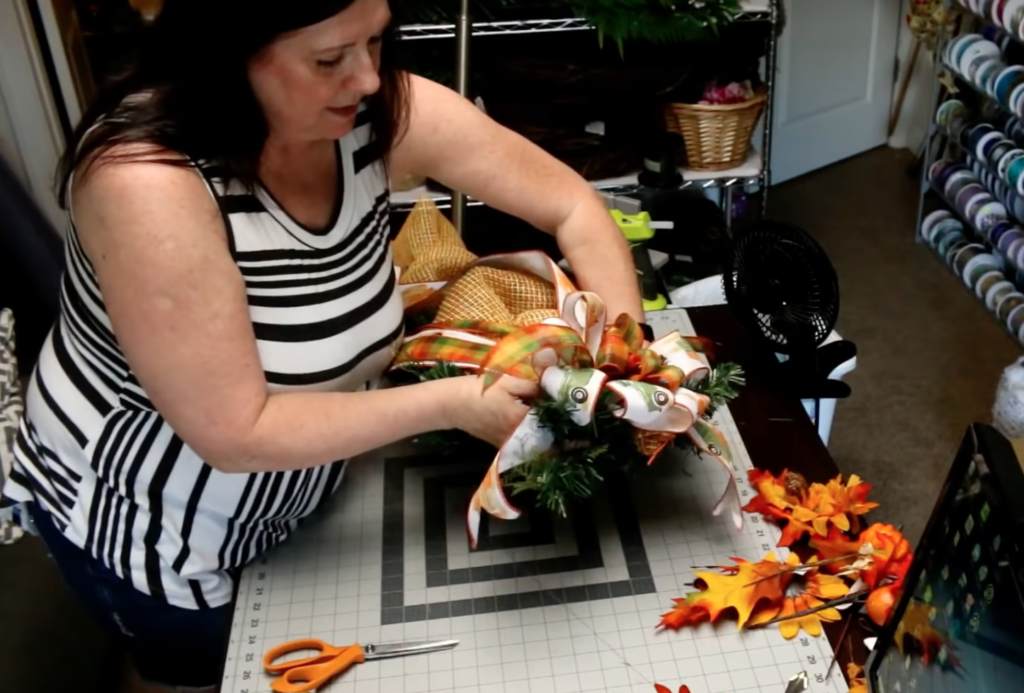
Step 4. I am going to attach the bow to the top of the swag. I will now take the extra ribbon and run it through the swag I cut about 2 yards and taking the center I will add it under the bow at the top of the swag. Now we will go in with the ribbon cut the ends of the ribbons you can either do dove-tail cut at an angle. Now let’s create the loops with the ribbon I don’t want to tuck it in every place we want to skip a few coming into the middle and then tucking them again at the end of the swag.
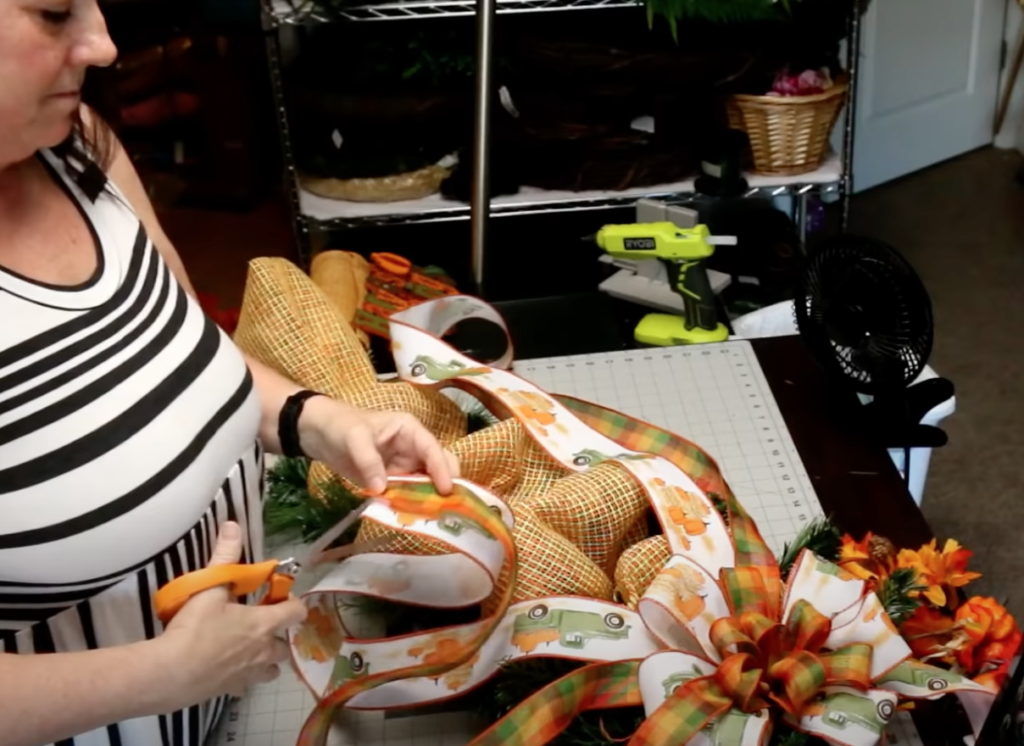
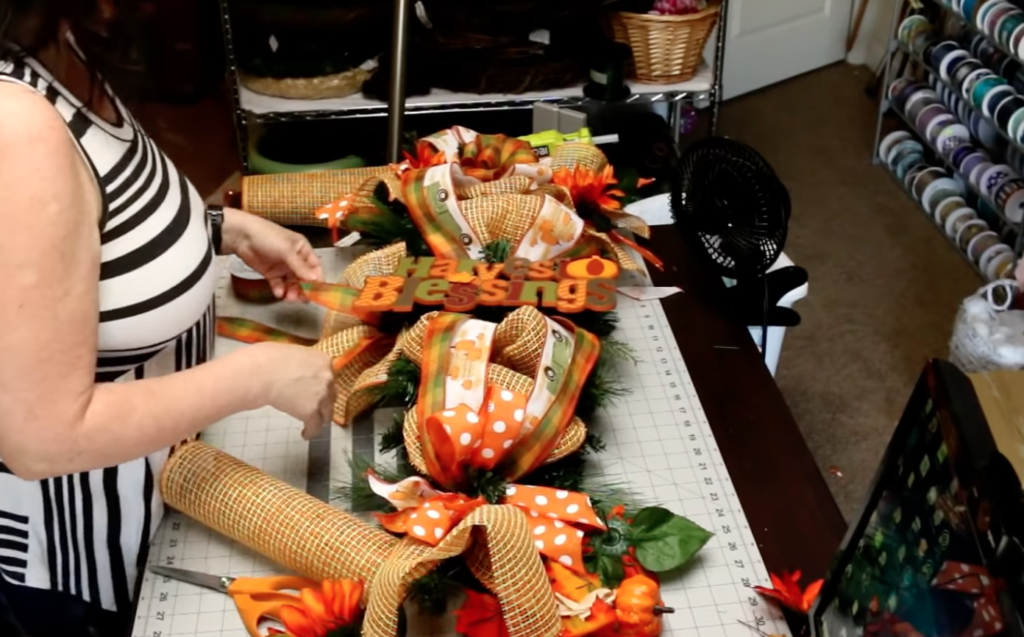
Step 5. I will take my 1.5″ ribbon and cut them in half and create mini loops with them & tuck them into the swag. Before you do this you can place the sign where you like it. Then we will go in and add the loops.
Step 6. You can take the mesh and create ruffles and add them into where some of the green from the swag is showing. Now you can take any picks or flowers you have and add those to the bow & to the swag. Shake test & Then you can place the fall sign where it is going to be displayed!
If you like this wreath check out others on our Blogs & YouTube channel don’t forget to subscribe to us on Instagram & Facebook.
Affiliate links for tools used. If you purchase I will get a few pennies for the purchase. About enough to buy a stick of gum 🙂
Pro Bow the hand http://amzn.to/2zbz4Yp
Fiskars Rotary cutter and mat http://amzn.to/2hyAUHL
Ryobi Glue gun http://amzn.to/2hBoizL
Bowdabra bow maker http://amzn.to/2zdPxeE
Metal Hole Punch http://amzn.to/2AoW6bV