Make a Deco Mesh Wreath Step by Step Instructions
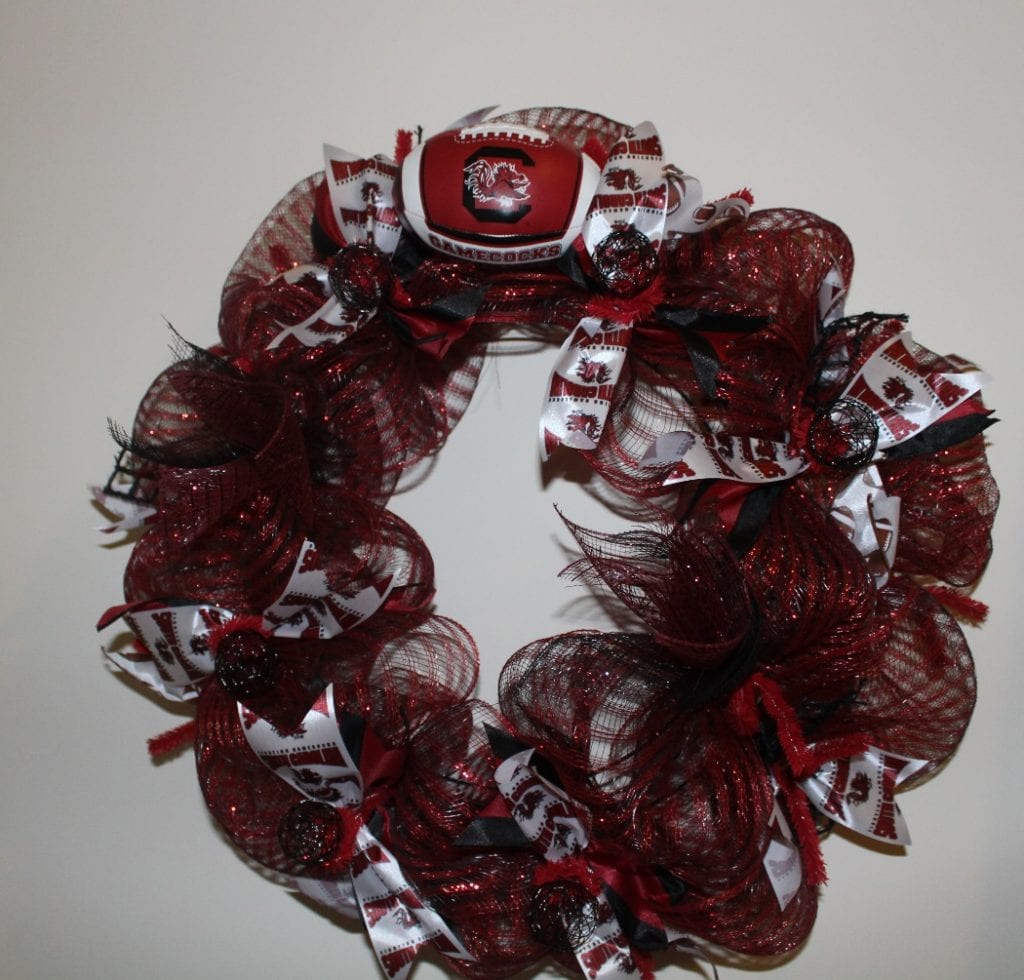
I love to make deco mesh wreaths and I am often asked to share how I make a wreath. It is not difficult to make a wreath and I am happy to share how I make my wreaths. The first thing you need to do is pick a theme for your wreath. The one I am showing is a collegiate wreath I made for a friend.
Once you have a theme you will need to get:
Wreath form
Deco mesh
Ribbons- wired is easiest to use 1.5″ to 2.5″
Decorative items you want to add to your wreath
Clear zip ties
The wreath form can be a plain wreath form or a work wreath form. See below for examples of the different wreath forms.
The plain wreath form is on top and the work wreath form is on bottom. The working wreath form comes with the pipe cleaners (tinsel ties) already attached.

I prefer the work wreath form because there is an inner and outer layer unlike the other wreath form where the layers are flat. I find the layers of the work wreath are easier to work with and make a fuller looking wreath.

Once you have your supplies ready, put your wreath form on a flat surface. You will start by gathering the end of deco mesh and use a zip tie to attach to the inner ring of the wreath form.

Gather the deco mesh about 9″ to 10″ to make a poof and attack it using the tinsel tie. It is a good idea to fluff the deco mesh and make sure you are happy it before you move onto the next tie.

When you have reached the first poof you put in you will need to move to the outer layer. You can do this by attaching the deco mesh to the outer layer with a zip tie. This makes it easier to start on the next level without having to cut the mesh or trying to make a poof look straight if you start the poof from the inner layer.

Go around the outer layer the same way you did the inner layer. Once you have reached the first poof on the outer layer cut about 4″ extra and secure to the wreath form with a zip tie on the underside of the wreath form

The next step is to add the ribbon to the wreath. It makes it easier to complete the wreath if you go ahead and cut all your ribbon you want to add. I cut my ribbon about 7-12″ but you make them shorter or longer as you prefer. A quick hack for this is to cut a card board piece half the width of your ribbon, wrap the ribbon around the cardboard several times and cut at one end. It will give you even sized ribbon.
I like to add interest to my ribbon by cutting the edges to add a little detail. Just fold the ribbon edges together and cut on the diagonal.
Use several different ribbons to add more contrast and interest.

Another great thing you can add is rope, rope comes in all types of colors and sizes.
Once you have your ribbon cut, add to wreath by using the ties. You can add one ribbon or more ribbons to the ties. I like to add at least two ribbons on each tie to add depth to the wreath.

To add multiple ribbons just stack them together in the ties. You can turn them to see both ribbons or stack them together. If you want your ribbons to stand up, gather them in the middle and add a little wire to make the ribbon stand up more. Then tie onto the wreath.

There are a lot of great accessories you can get to add to wreaths. I use the tinsel ties or hot glue to attach to my wreath. If you use hot glue, add it to the accessory and not the deco mesh as it will burn the mesh.
Have fun and be creative. Remember you can always redo a section if you do not like it.