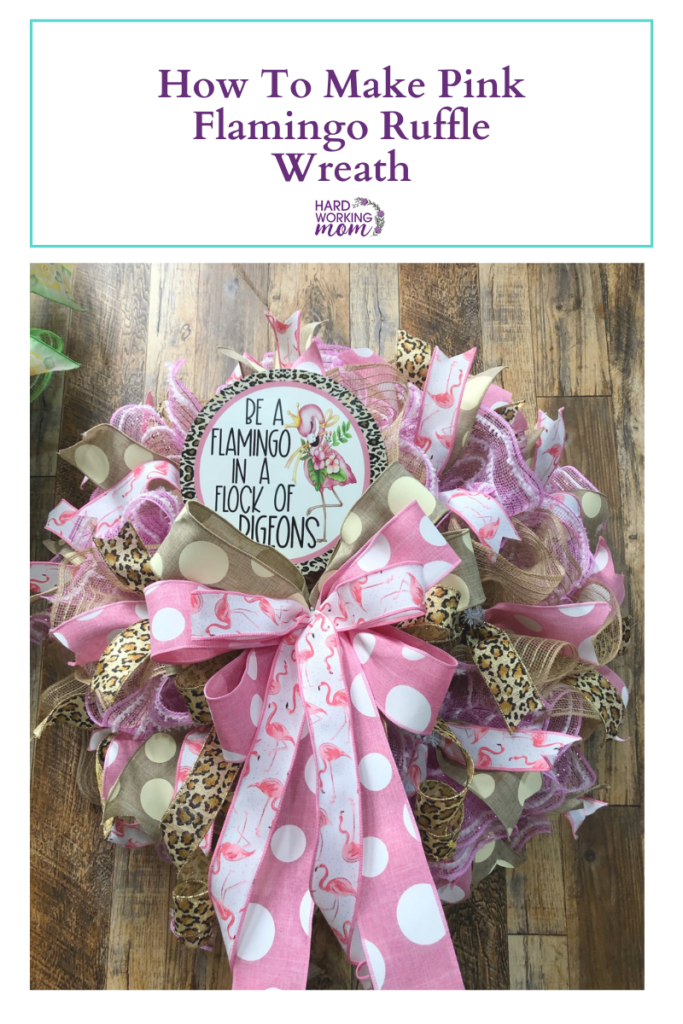
How To Make A Pink Flamingo Ruffle Wreath
METHOD
•Method 30in Ruffle
Ribbons cut -12
Mesh cut – 30in
SUPPLIES
Most supplies can be found at Trendy Tree or https://hardworkingmomstore.com/
Get Supplies Trendy Tree- https://bit.ly/350JHZO
- 15in White work wreath frame
- 10in Pink Snow Drift deco mesh https://hardworkingmomstore.com/produ…
- 10in Tan Jute mesh
Ribbon
- 2.5in Tan with cream polka dots ribbon
- 2.5in Pink with white circles ribbon
- 1.5 in White Flamingo ribbon https://hardworkingmomstore.com/produ…
- 1.5in Animal Print ribbon https://hardworkingmomstore.com/produ…
Steps
Begin by cutting both mesh rolls to 30in sections.
Create a ruffle with the burlap mesh by running your thumb down the middle and pinching as to create a “bowtie”. Place onto the bottom level of the work wreath and secure with a tie. Continue working your way around the form alternating mesh colors on the bottom level.
To begin adding your ribbon, I’m going double the dotted pink ribbon with the animal print layered on top and placing it within one ruffle and tie. Trim the excess.
I will also double the brown dots and the flamingo ribbon and place them with a ruffle also. ( Alternating)
Continue adding ruffles and ribbon to the remaining levels of the work wreath while alternating colors and designs.
I added a giant bow using my Probow Hand Maker but that is optional!
To add your flamingo sign, punch holes in 2 sides of the sign and run floral wire through each side. Secure to the wreath by placing the sign on top of the wreath and running the wire down through the form and tying.
Enjoy!
Catch the tutorial on the Hard Working Mom Youtube channel. Don’t forget to subscribe to see all the latest wreath design and decor!