
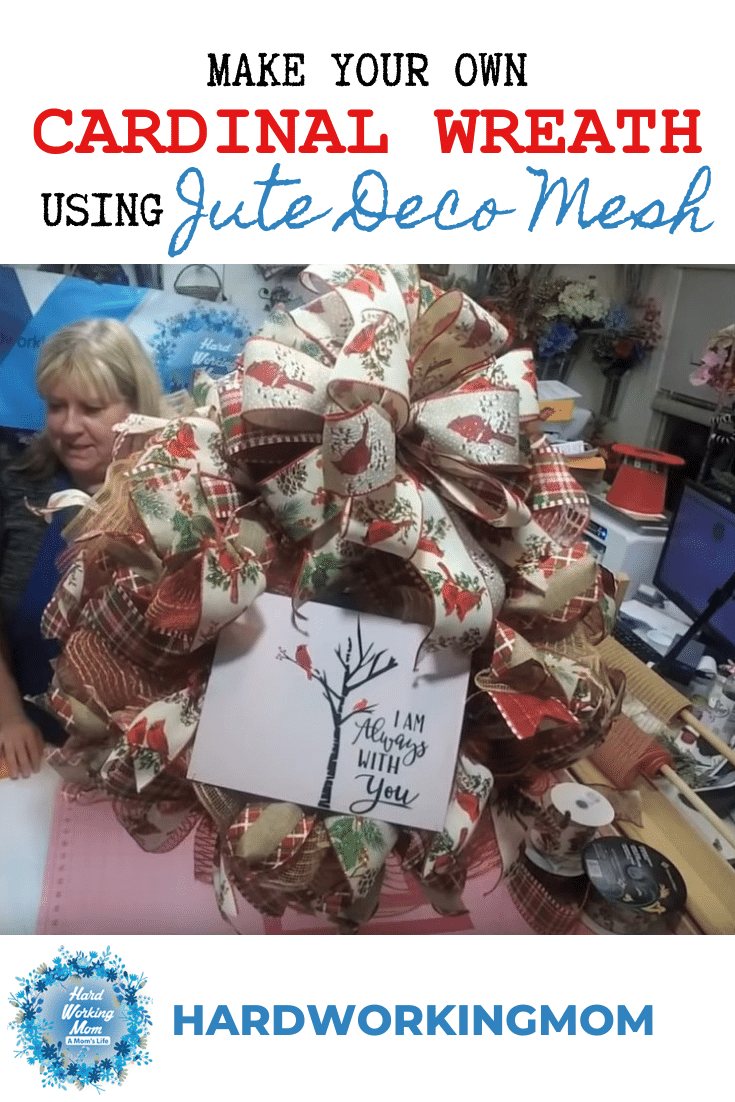
How to make a North Pole Red and White Ruffle Deco Mesh Wreath
Disclaimer: This post contains affiliate links for supplies and tools used. If you purchase, I will get a few pennies for the purchase. About enough to buy a stick of gum 🙂
Hey, Lori here!
I am so stinking excited to show you this sign by my cubbie Rachel with RachelCraftyCorner. She is so good at painting! You guys know I can’t paint my way out of a bucket.


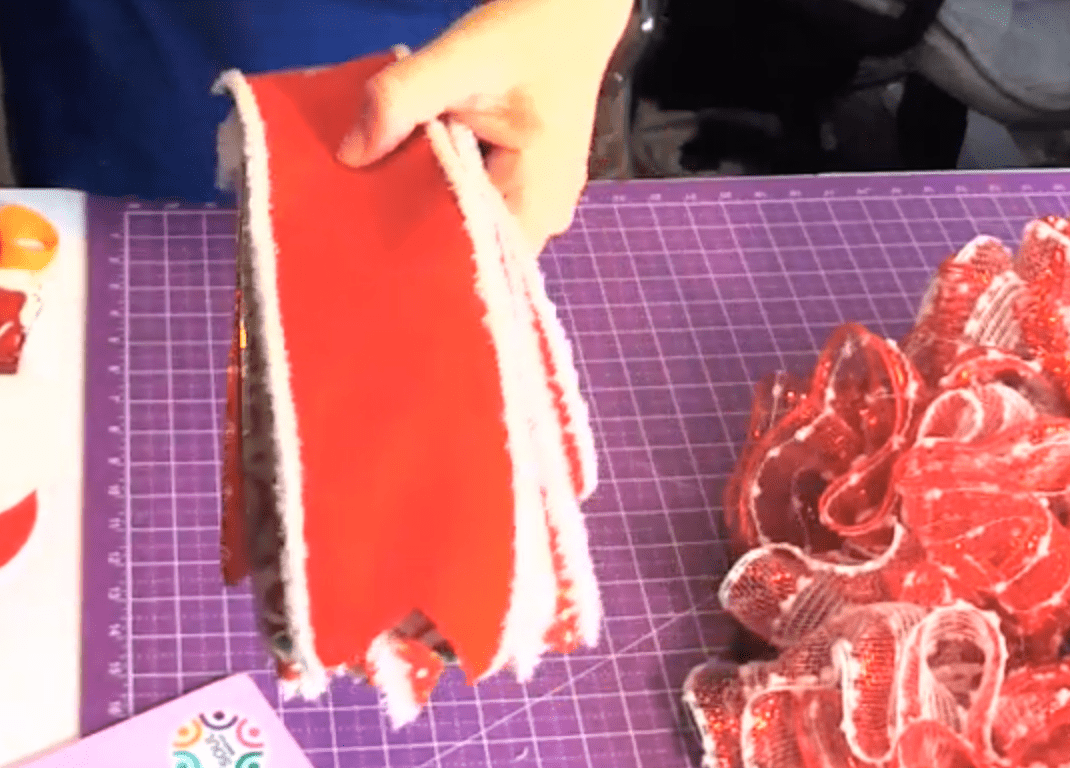
Tonight we are going to do 30″ ruffles with our mesh. We are going to use this fun white mesh with this foil red going through it. Then we will add this snowball drift mesh to balance the red and white and really make it pop with the white and greens.

I pre-cut all my materials with my Susie Mesh roller. We are going to alternate them starting with the red first then the white. When doing a ruffle you want to take your fingers and just walk it up kind of like a tickle, keeping your thumbs in the center pushing forward.


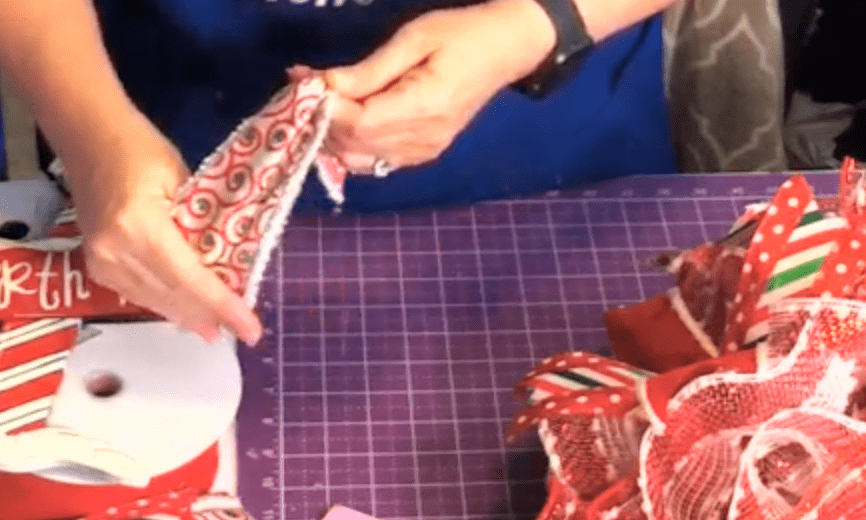
We will do this all the way around all 18 ties. After we are finished with the mesh we will add our ribbons I like to pair my colors so we are going to add the pops of green cause our sign has some green in it. I cut the ribbon 12-inches using my perfect tails.


Taking the ribbon we will mix and match patterns together. When adding the ribbons we will fold it in half creating that center crease and where that crease is we will pinch it into the center and pulling the ribbon so it creates a nice bird-like shape. We will put it right into our ties and twist it up.


After the ribbons are added we will move on to our bow. Using our EZ bow maker we are going to start with 8 inch tail pinching the center and then adding it into the bow maker.

TIP: When making bows make sure you have enough slack in your ribbon it will really make a difference for you.


After you have placed your ribbon in the center you will twist and have that ugly side of the ribbon showing then come back around creating that loop and pinching that down to the bow maker, doing two loops on each side with this first ribbon choice.


Adding the second ribbon we are going to do the same thing but making this tail longer around 12″. We will pinch and twist the ugly side up and then making a loop only wanting to do one of this ribbon choice on each side.
As we are building our bow I want to take the ribbons in each time starting around 6″ inches and then going down to around 5″ inches. The third ribbon choice will match up to our bottom ribbon. I love this bow maker because I can move my ribbons around as I go.


When you are working with your bow maker make sure you have a hammer around in your craft room sometimes when you are working with a thicker ribbon your bowmaker tends to separate. Just take that hammer and pound those pegs back in. Make sure with your EZ bow maker you have that small peg in the front this helps this from separating.


After we have our bow we are going to add it to our wreath and fluff it out and trim the tails. Slipping my zip tie under the bow and not pulling it all the way yet because we are going to add a pipe cleaner to this so we can attach it to the wreath frame.
When I go under the edges of the ribbon where that wire is and fluff it out. This is a big reason why I encourage wire ribbon. If you have one that is twisted work it out and keep taking the fingers and fluffing it.


The long tails I will curl up and then let them fall and dangle down. You can cut dovetails at an angle away from you. Many ways to leave the tails. I just love bows!
Last steps! We are going to take our sign and attach pipe cleaners to the back of the sign with my 1/4″ staples and then I will also take my hammer and hammer those into the back. Make sure your staples won’t come thought the other side of your sign.


I will then take the pipe cleaners and attach them to the back of the wreath right to the bar of the wreath frame. If you have to add some length to the pipe cleaners you can.


SHAKE test! Here you have it this beautiful North Pole wreath perfect for Christmas! Thanks for reading you can check out the video on my YouTube Channel.
Have a Hard Working Mom project done? Show us pictures by using hashtags #DesignsbyHWM on Instagram, Facebook, and Pinterest.

Don’t forget to join our free Facebook design group
Sign up for our email list to be notified when we are going LIVE!
Links:
Shop- https://hardworkingmomstore.com/
Business Group- https://hardworkingmom.com/success-path/
Wreath design group- https://hardworkingmom.com/product/de…
Website- https://hardworkingmomstore.com/
Tools & Supplies Store-https://www.amazon.com/shop/influence…
Trendy Tree- https://bit.ly/350JHZO
Deco Exchange https://goo.gl/QPsTPY
Supply List:
METHOD:
Ruffle
10-inch mesh x 2 cut at 30”
Ribbons cut 12”
Supplies Trendy Tree- https://bit.ly/350JHZO
Deco Exchange https://goo.gl/QPsTPY •
SUPPLIES •
Sign North Pole RachelCraftyCorner
Supplies Trendy Tree- https://bit.ly/350JHZO
15 in Red Work Wreath
1 10in Red and White Mesh Snowball
1 10in Red with Snowball Mesh
• Ribbon •
Supplies Trendy Tree- https://bit.ly/350JHZO
Deco Exchange https://goo.gl/QPsTPY
2.5 in Red with white edge ribbon
2.5 in Fuzzy edge Christmas dots stripes ribbon
2.5 in Red Green and White Wavy dots and Stripes Ribbon
2.5 in White with Red swirl and green dots ribbon
Affiliate links for tools used. If you purchase I will get a few pennies for the purchase. About enough to buy a stick of gum 🙂
Mesh Roller https://www.simplify-organize.com/pro…
Probow the hand http://amzn.to/2zbz4Yp
Tools:
Mesh Roller https://www.simplify-organize.com/pro…
Probow the hand http://amzn.to/2zbz4Yp
Fiskars Rotary cutter and mat http://amzn.to/2hyAUHL
Ryobi Glue gun http://amzn.to/2hBoizL
Bowdabra bow maker http://amzn.to/2zdPxeE
Metal Hole Punch http://amzn.to/2Ao
Save it for later on Pinterest:
For more Christmas Project Ideas and Tutorials, check out my YouTube Playlist: Christmas & Winter Swags, Wreaths
If you love making wreaths, you can purchase my wreath kits and supplies at HardWorkingMomStore.com.
I hope this post inspires you to get crafty! Share it with me! I’d love to hear from you. My social links are posted below.
Thank you,
❤ Lori
Other Posts You May Like:
Need Help?
If you are interested in learning more about our Success Path group, you are welcome to do so following this link: https://hardworkingmom.com/success-path
Want to learn Wreath Designing? Here is my Coaching Group, follow the link here: https://hardworkingmom.com/product/design-with-hard-working-mom-wreath-therapy-on-steroids/
Need a bundle, here is the link to save on both groups: https://hardworkingmom.com/product/design-with-hard-working-mom-wreath-therapy-on-steroids-combined-with-lori-jacobs-success-path/
Find Me Here
Hardworkingmom Store: https://hardworkingmomstore.com/
Amazon Influencer/My Favorite Supplies: https://www.amazon.com/shop/influencer-5ef69f14
Email me: [email protected]
YouTube: @https://www.youtube.com/hardworkingmom
Instagram: @hardworkinglori
Twitter: @hardworkingmomtv
Facebook: @hardworkingmomtv
My Etsy Shop: DesignedByHWM