
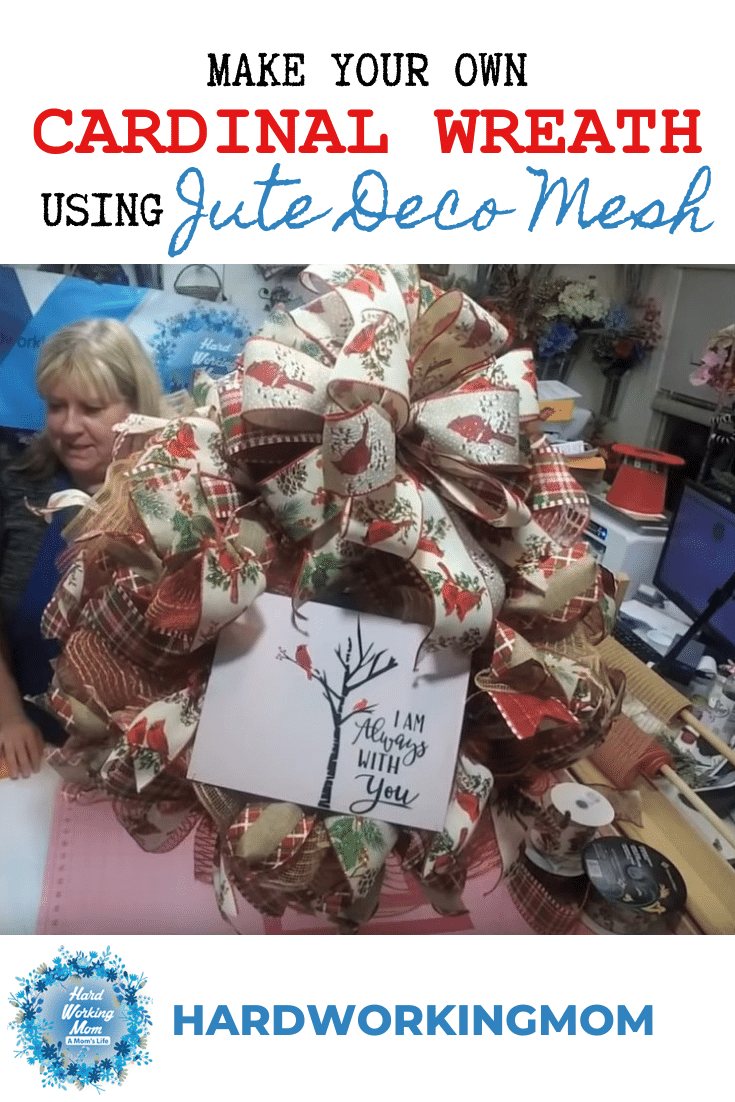
How to Make a Red and Green Ruffle Merry Christmas Gnome Wreath
Disclaimer: this post contains affiliate links for supplies and tools used. If you purchase, I will get a few pennies for the purchase. About enough to buy a stick of gum 🙂
Welcome back Hard Working Mom Community! Before we get started let’s go over some things. If you want to be apart of my community list and receive emails for when I am going live join on my website where it says join the community.
I found this adorable gnome globe Santa sign in my sign stash and it came from Personalize it by Pam you can find her on Etsy. I wanted the colors to all flow together for this project so I picked out the ribbon to match and oh boy I love the colors and patterns we have picked.

To get started we are going to be using this red and green jute mesh you can find it on Deco Exchange. I am going to cut it at 30″ inches using my Susies mesh roller to help me with holding the mesh. I love this jute mesh it’s great quality and the green stripe is the perfect shade of green to make this red POP and stand out.


After cutting my mesh I am going to open my ties on my wreath frame keeping the center 8 in the middle and open it up. So we can attach the ruffles. This frame has 18 ties so I will need 18 ruffles cut at 30″.
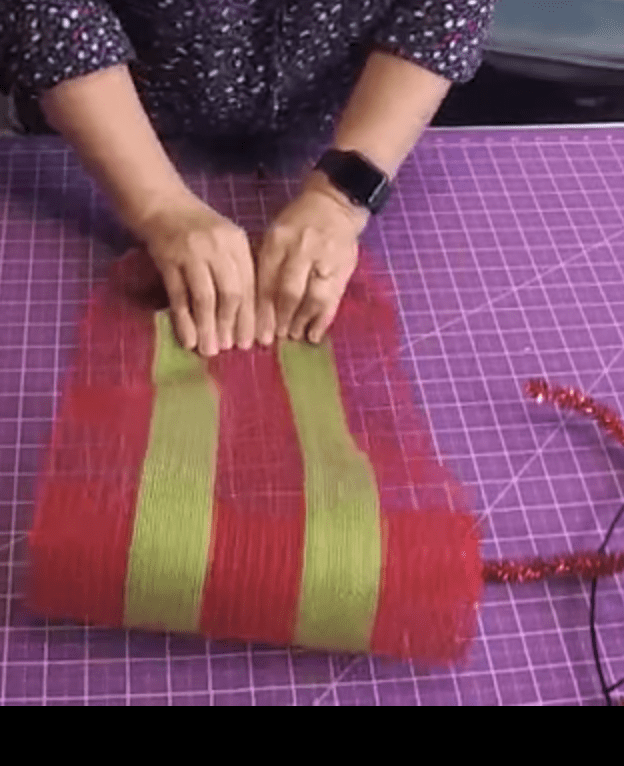
I used to be obsessed with water globes so this wreath has me all excited to make. Going straight up the middle placing my thumbs on the end and pushing with my fingers evenly with that green stripe. If you struggle with ruffles this mesh is great to work with its stiffer and makes it easier to make a ruffle.
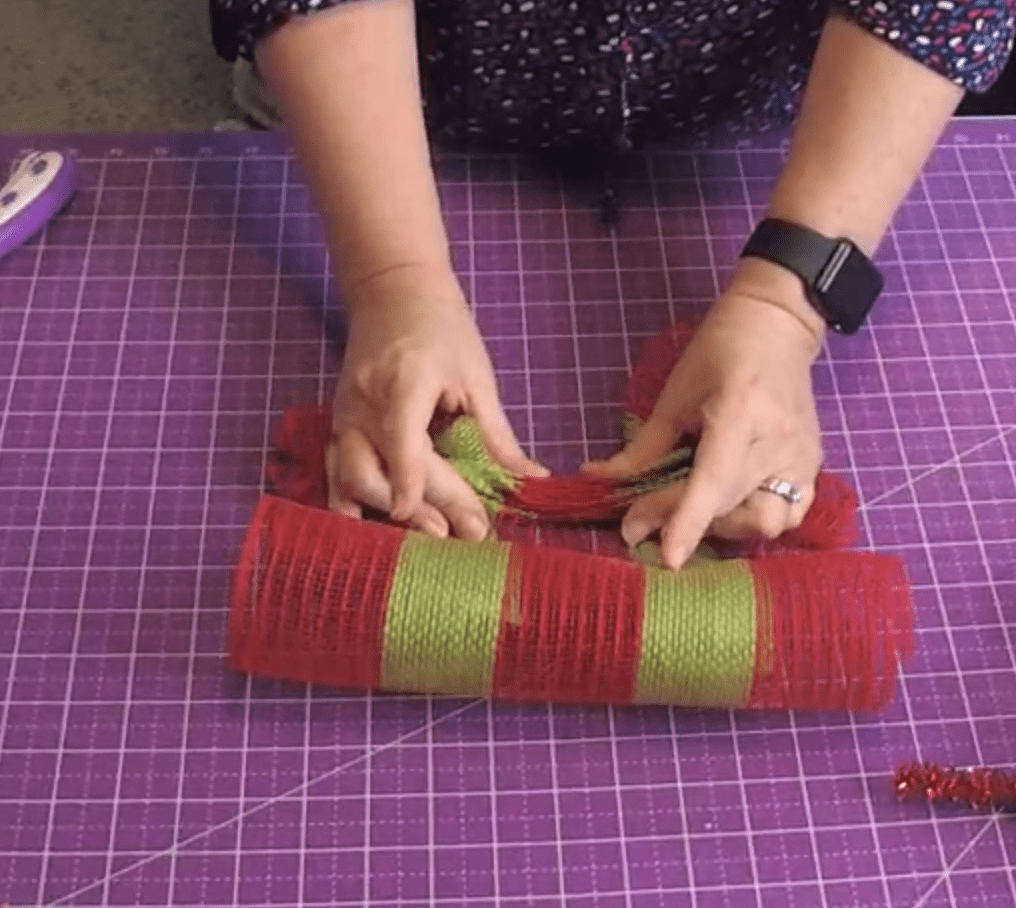

To place the mesh I will take the ruffle keeping the pinch and place it between the ties and then twisting the ties one, two, three times.
After we have placed all the ruffles on the frame going all the way around we will fill it out making sure we are not squishing the bottom. Loving this green in the middle of the mesh. After fluffing let’s move on to the RIBBON! I know one of the best parts.


A good rule of thumb for cutting your ribbon is to go 2-4 inches above your mesh. I prefer the 12″ in for ribbon. All my ribbon are cut at 12″ for this project. I cut all these ribbons with my 12-inch ribbon tail from Burlap Bowtique. If 13 or 14-inch ribbon is your favorite that is okay too!

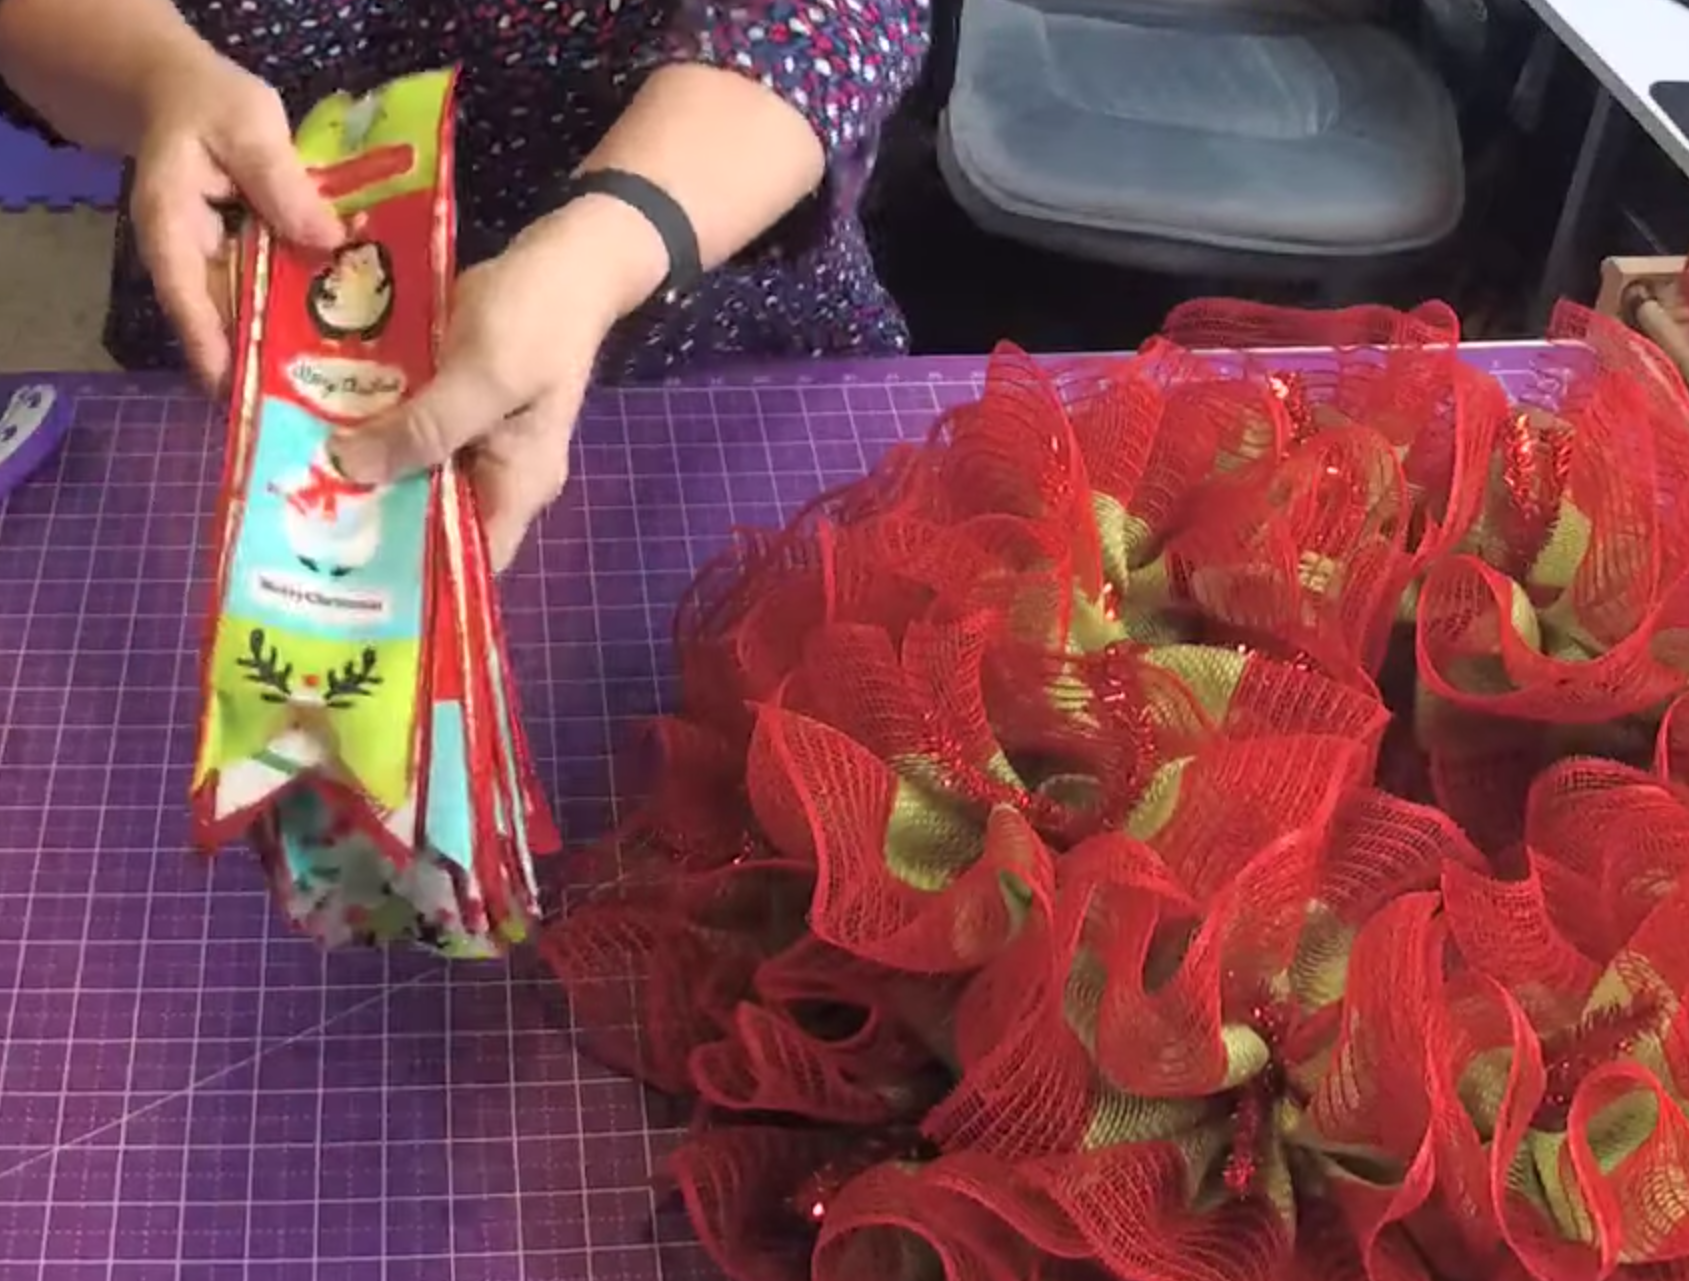
So what I do is fold the two ribbon together in the middle to get my center then I will take my fingers and create a pinch. Taking my fingers and giving that ribbon a good lift I place it into the ties and twist one or two times. Alternating the ribbon patterns for this project. I like to take the ties after placing the ribbon and curling them into the center. Do this on all 18 ties.

Let’s add a bow, shall we? Grabbing Hot Mesh Mom ribbon board. You don’t have to use this one but this is what I decided to use on this project. I am using a 2.5-inch wired ribbon for the first loop around 6″. I am going to pinch my ribbon and then place it into the center pegs. When making a bow it does not have to be exact but if you want to measure you can. We are going to do 2 loops on each side for the first layer bow. You can always grab your loops and match them up to each other.


I am going to leave these ribbon stacked and just add on top. The next set I will do around 5.2 inches we will have about a 12″ inch tail again and then taking it in the center and pinching and putting into the bow maker creating the first loop, then pinch and twist to create the second loop.


I repeat this process adding 2 more loops on each side alternating ribbon patterns. If your struggling with your ribbon on the spools just toss it on the floor. To create that pretty dovetail you want to fold the ribbon and cut away from you at an angle.
To tie off the bow I will take a zip tie and place it as close to the center as I can. Before tightening it I want to fluff the bow out and add a pipe cleaner to attach this to the wreath frame. Taking the tails and running my hands under where the wire is to make that nice little curl. It will make all those ribbons fluff.


To attach the bow and sign we will place this at an angle and anchor the sign off the bow. I like that it is not perfectly centered it gives it a different look. If you want the bow to stand up tie it in-between the ruffles. If you want it to be level you want to tie it where your ties are, side to side top to bottom.

Cutting my wire about 18 inches to attach this to my sign, I like to use 26 gauge wire. Going to run it through the holes on the corner and then twist. We are going to nest this sign. Putting the edge of the sign so its almost against the bow. If your tails are too long just cut them and adjust them. Taking the wire and slipping it through the frame and we will attach it and then trim off any extras. You may have to fluff your mesh and bow back out if you have issues with placement.


Here we have it shake test and you are ready to hang your Red and Green Ruffle Merry Christmas wreath. This wreath is big and beautiful and full. Thank you for joining me today, don’t forget to watch the full video on YouTube. Also, your supply list is located below with links to make your shopping easier for you. Don’t forget to check out the Ice Skating Kit on sale TOMORROW ( 11-15-19).


Links:
Shop- https://hardworkingmomstore.com/
Business Group- https://hardworkingmom.com/success-path/
Wreath design group- https://hardworkingmom.com/product/de…
Website- https://hardworkingmomstore.com/
Tools & Supplies Store-https://www.amazon.com/shop/influence…
Trendy Tree- https://bit.ly/350JHZO
Deco Exchange https://goo.gl/QPsTPY
Supply List:
30in Ruffles
Ribbons cut -12
Mesh cut 30″ inch — https://www.decoexchange.com/products/10-5x10yd-faux-jute-pp-wide-stripe-red-fresh-green-ry831455?_pos=1&_sid=e3b723f6b&_ss=r
15 in Redwork Wreath
Merry Christmas Gnome Sign Personalize it by Pam
2 10in Red and Green Jute Mesh RIBBON
Supplies:
Trendy Tree- https://bit.ly/350JHZO
Deco Exchange https://goo.gl/QPsTPY
2.5 in Red and Green Candy
2.5 in Red and Green Candy Lollipop Ribbon
2.5 in Merry Christmas Character Ribbon
2.5 in Red and Green Striped Ribbon
Thank you, to all my HWM YouTube Community for all your support and I will see you all soon.
Thank you, HWM by, Lori. Find you when I will be live https://bit.ly/33x7Oyf Affiliate links for tools used. If you purchase I will get a few pennies for the purchase. About enough to buy a stick of gum 🙂
Tools:
Mesh Roller https://www.simplify-organize.com/pro…
Probow the hand http://amzn.to/2zbz4Yp
Fiskars Rotary cutter and mat http://amzn.to/2hyAUHL
Ryobi Glue gun http://amzn.to/2hBoizL
Bowdabra bow maker http://amzn.to/2zdPxeE
Metal Hole Punch http://amzn.to/2Ao
Save it for later on Pinterest:
For more Christmas Project Ideas and Tutorials, check out my YouTube Playlist: Christmas & Winter Swags, Wreaths
If you love making wreaths, you can purchase my wreath kits and supplies at HardWorkingMomStore.com.
I hope this post inspires you to get crafty! Share with me! I’d love to hear from you. My social links are posted below.
Thank you,
❤ Lori
Other Posts You May Like:
Need Help?
If you are interested in learning more about our Success Path group, you are welcome to do so following this link: https://hardworkingmom.com/success-path
Want to learn Wreath Designing? Here is my Coaching Group, follow the link here: https://hardworkingmom.com/product/design-with-hard-working-mom-wreath-therapy-on-steroids/
Need a bundle, here is the link to save on both groups: https://hardworkingmom.com/product/design-with-hard-working-mom-wreath-therapy-on-steroids-combined-with-lori-jacobs-success-path/
Find Me Here
Hardworkingmom Store: https://hardworkingmomstore.com/
Amazon Influencer/My Favorite Supplies: https://www.amazon.com/shop/influencer-5ef69f14
Email me: [email protected]
YouTube: @https://www.youtube.com/hardworkingmom
Instagram: @hardworkinglori
Twitter: @hardworkingmomtv
Facebook: @hardworkingmomtv
My Etsy Shop: DesignedByHWM