
How to Make a Poof Curl St. Patrick’s Day Wreath
Hey, Lori with Hard Working Mom here. I am so excited I was making some St. Patrick Day signs and I love this one here so I thought I would do the poof curl method with leftover 21″ inch mesh. Let’s get started!

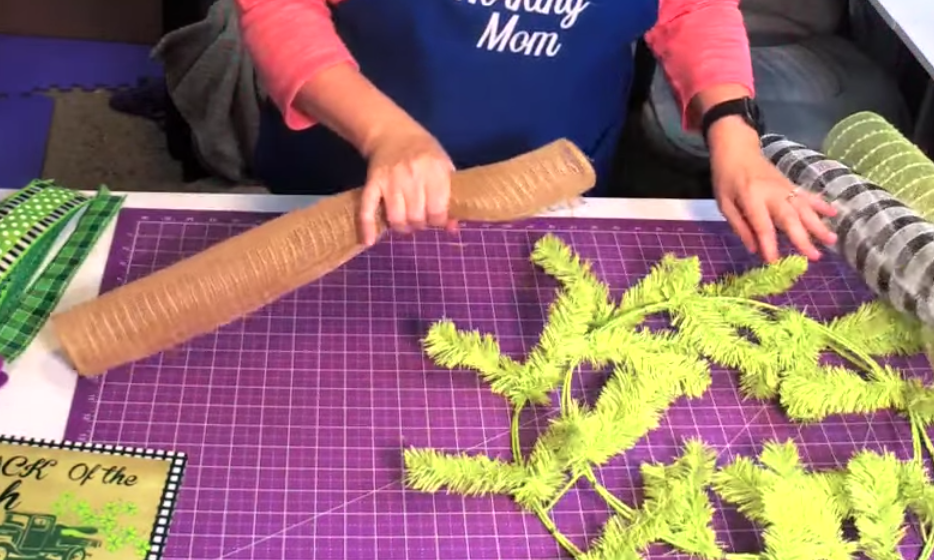
I have 3 different colors and types of mesh leftover from other projects. Because I am using leftover mesh I decided to go with a jute 21-Inch, black, and white plaid mesh, and then a lime green snowball foil mesh. I cut 8 of each color and 15″ inches. Don’t worry there is a supply list for you down below.
To get started I open up all my ties around my frame which is a 15″ inch work-frame. What you will want to do is take your first color mesh and curl it not to tight but not to lose. ( Hard Working Mom Tip: You can cut these 10″ and 12″ inch and it would work too! ) You want to have about a 3″ inch out so the curl at the end is out.

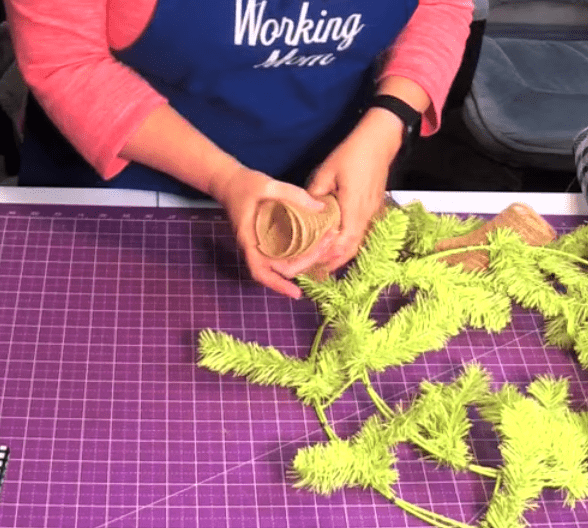
Make sure you keep the edge of the mesh down on the frame. Then you will leave about 3 inches again on the other side and place that down on the tie next. So you will have a nice poof in the middle. You want to make sure you do not curl it too tight or it will be hard to get that poof out. When placing the second one you will overlap them so the curls will be together and making sure that poof is in the middle. We will do this process all the way around.


After the base is of the frame is covered with our poof curl mesh, we will add our ribbons & I am going to also add some splatter mesh. I cut my ribbon at 12″ inches and I have 4 different patterns of ribbon. I am going to fold my ribbon in the middle create that nice middle point then I will take the splatter mesh and ruffle it under the ribbons leaving those on the top and the splatter mesh on the bottom. Attach it to the frame, we will do this around the wreath alternating ribbon patterns.


If you don’t want to do it all in one swoop you can use your bow maker and ruffle the splatter mesh place it in the bow maker and then fold your ribbons and place them on top of the bow maker then pull them out. You will save time by doing it in one step without the bow maker.


Remember the less you mess with the mesh the less it will fray. I am also not undoing the ties where the mesh lays I am putting it right on top of those ties. Look how full this wreath is! I am so excited about the sign. We will take our sign punchers and put them right in the corner of the sign. I use 26 gauge wire silver I cut it around 20″ inches.
We will place this though the whole of the sign. I want to make a bow before we place the sign. I am going to use the 4-in – 1 by Pro Bow The Hand, but you can use whatever bow maker you want to use. Some of my ribbons have patterns and when they do I want to make sure that they are all going the same direction so some of these will have to be done by hand.


We will start with 7″ inch tail and pinch that and place it in front. I will come out to 6″ inch and twist in the center and place it into the bow maker. I want to have 3 loops on each side. Make sure you give yourself enough slack in the ribbon it will make it easier to create those loops. On the last pass, you do not twist you just place straight out front.


Taking our 1.5″ inch ribbon next we will twist and place into center. Coming out to the 6″ inch loop and twist it into the center and place it and again doing this same process so we have 2 loops on each side. Next ribbon we will do by hand since it has the pattern.


I am going to do a dovetail on the ends of all the ribbon. We will make our tail just a 7″ inch tail. From my thumb to the 10″inch mark I know that I will have a 5″ inch loop because when you flip it over you will have that loop. When doing this its over, under, over-under.
NO twisting because we don’t want those patterns to go off course. Keeping it placed between your thumb holding that in the center. Not stacking them on top of each other just placing them right next to each other. Place it into the bow maker on top to hold that pinch for you. Adding 1.5″ inch ribbon which also has a pattern we will do the same thing with only 2 loops on each side vs the 3 loops like the last one.


After we have our bow finished we will zip tie and get it started and take our pipe cleaner through the back so we can attach it to the wreath frame. Moving and arranging the loops as we go so when its all the way tight its doesn’t move.
We will attach it to the frame and continue to fluff the bow out and get it how you like it. We will add our sign taking the wires and attaching to the frame if you have to move the mesh around that is fine make sure you are placing the sign above the mesh so it does not drip down into your project and hard to see.


SHAKE test! Here you have it we have made a poof curl wreath with leftover 21″ inch mesh. As promised the supply list below so you can make one like this. Thank you for reading today don’t forget to check out the video on YouTube & hit that subscribe button.
Learn to make this wreath today #hardworkingmom, #decomeshwreath Shop- https://hardworkingmomstore.com/
Business Group- https://hardworkingmom.com/success-path/
Wreath design group- https://hardworkingmom.com/product/de… Website- https://hardworkingmomstore.com/
Tools & Supplies Store-https://www.amazon.com/shop/influence… METHOD
Supplies Trendy Tree- https://bit.ly/350JHZO
Deco Exchange https://goo.gl/QPsTPY
Method Poof and curl Mesh cut at 15in
Ribbons cut at 12in
Sign https://hardworkingmomstore.com/produ…
Trendy Tree- https://bit.ly/350JHZO
15in Green work wreath
21in Black and white checked deco mesh
21in Jute burlap mesh
21in green snowball mesh
21in green splatter mesh
Ribbon Supplies Trendy Tree- https://bit.ly/350JHZO
Deco Exchange https://goo.gl/QPsTPY
1.5 in Green checked Ribbon
1.5in Black and white stripes with hats ribbon
2.5 in Green and white st Patrick’s day hat ribbon
2.5in Green with piano tile edge and white polka dots ribbon
Thank you, to all my HWM YouTube Community for all your support and I will see you all soon. Thank you, HWM by, Lori. Find you when I will be live https://bit.ly/33x7Oyf
Affiliate links for tools used. If you purchase I will get a few pennies for the purchase. About enough to buy a stick of gum 🙂
Mesh Roller https://www.simplify-organize.com/pro…
Probow the hand http://amzn.to/2zbz4Yp
Fiskars Rotary cutter and mat http://amzn.to/2hyAUHL
Ryobi Glue gun http://amzn.to/2hBoizL
Bowdabra bow maker http://amzn.to/2zdPxeE
Metal Hole Punch http://amzn.to/2Ao

Affiliate links for tools used. If you purchase I will get a few pennies for the purchase. About enough to buy a stick of gum 🙂
I hope this information helps guide you in the right direction for your creative business. Don’t forget to check out my Design group!
Shop- https://hardworkingmomstore.com/
Business Group- https://hardworkingmom.com/success-path/
Wreath design group- https://hardworkingmom.com/product/de…
Dollar Tree Wreath Frames – https://www.dollartree.com/metal-wreath-rings-1425-in/205297
Dollar Tree Pipe Cleaners- https://www.dollartree.com/crafters-square-assorted-chenille-stems-45ct-packs/162095
Website- https://hardworkingmomstore.com/
Tools & Supplies Store-https://www.amazon.com/shop/influence…
Wreath Supplies with Trendy Tree- https://bit.ly/350JHZO
Affiliate links for tools used. If you purchase I will get a few pennies for the purchase. About enough to buy a stick of gum 🙂
Need Help?
If you are interested in learning more about our Success Path group, you are welcome to do so following this link: https://hardworkingmom.com/success-path
Want to learn Wreath Designing? Here is my Coaching Group, follow the link here: https://hardworkingmom.com/product/design-with-hard-working-mom-wreath-therapy-on-steroids/
Need a bundle, here is the link to save on both groups: https://hardworkingmom.com/product/design-with-hard-working-mom-wreath-therapy-on-steroids-combined-with-lori-jacobs-success-path/
Find Me Here
Email me: [email protected]
YouTube: @https://www.youtube.com/hardworkingmom
Instagram: @hardworkinglori
Twitter: @hardworkingmomtv
Facebook: @hardworkingmomtv
My Etsy Shop: DesignedByHWM
Hardworkingmom Store: https://hardworkingmomstore.com/
Amazon Influencer: https://www.amazon.com/shop/influencer-5ef69f14
